How To Make Quiz App Using JavaScript _ Build Quiz App With ...
10K views · Sep 4, 2023 codingpakistan.com
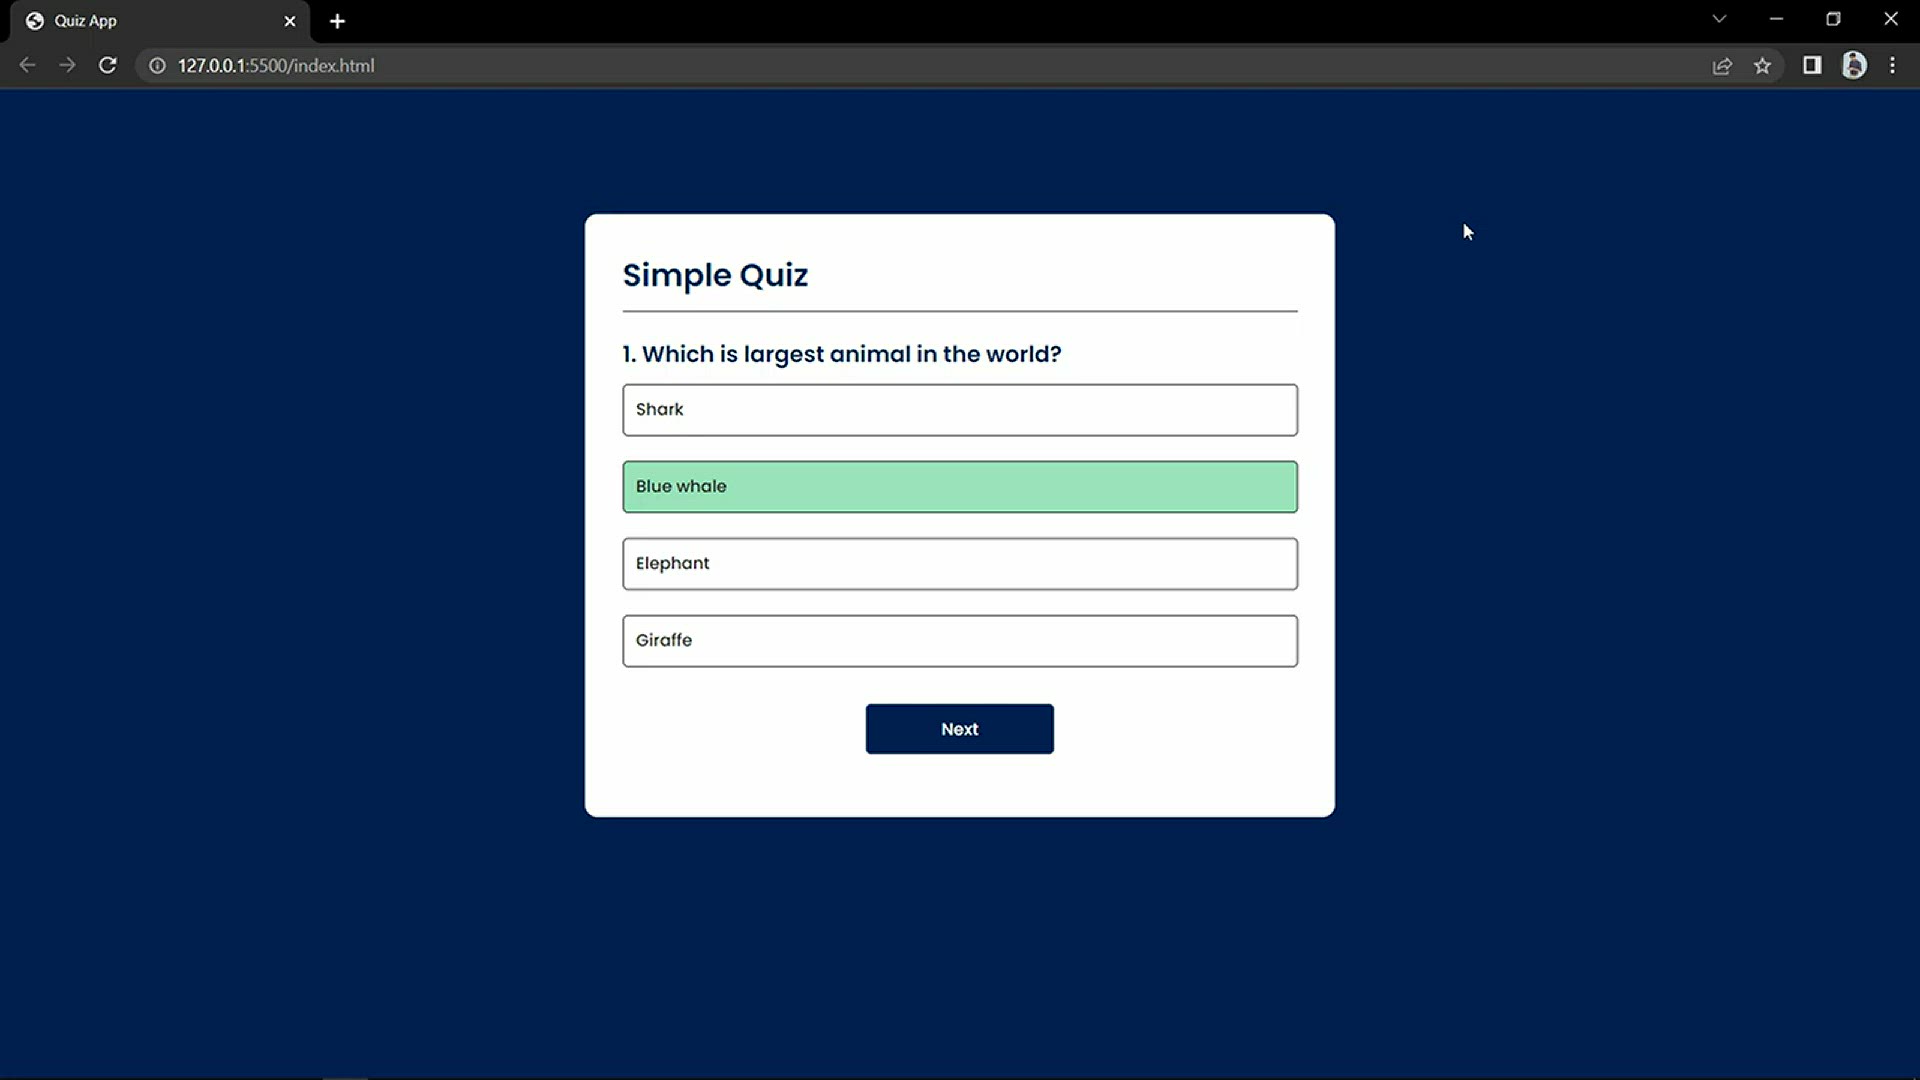
The video titled "How To Make Quiz App Using JavaScript _ Build Quiz App With HTML CSS & JavaScript" teaches you how to create a quiz app using HTML, CSS, and JavaScript. The video starts by creating the project folder structure and then creating the HTML document. The CSS file is used to style the quiz app, and the JavaScript file is used to implement the logic of the quiz. The video covers the following topics: Creating the HTML document Adding CSS styles to the quiz app Creating the JavaScript functions for the quiz app Storing the questions and answers in an array Displaying the questions and answers in the quiz app Checking the user's answer and displaying the score The video also covers some advanced topics, such as how to add a timer to the quiz app and how to make the quiz app responsive. Here are the steps involved in creating a quiz app using JavaScript: Create the project folder structure. Create the HTML document. Add CSS styles to the quiz app. Create the JavaScript functions for the quiz app. Store the questions and answers in an array. Display the questions and answers in the quiz app. Check the user's answer and display the score. (Optional) Add a timer to the quiz app. (Optional) Make the quiz app responsive. If you are interested in learning more about how to create a quiz app using JavaScript, I recommend watching the video. It is a comprehensive guide that will teach you everything you need to know to create your own quiz app.

How To Make QR Code Generator Website Using HTML CSS And Jav...
4K views · Sep 4, 2023 codingpakistan.com
This video tutorial teaches you how to create a QR code generator website using HTML, CSS, and JavaScript. The video starts by creating an HTML file with the basic structure of the website. Then, it adds CSS code to style the website. Finally, it adds JavaScript code to generate the QR code and display it on the website. The video also explains the following concepts: What is a QR code? How to generate a QR code using JavaScript How to style a QR code using CSS How to display a QR code on a website The video is well-paced and easy to follow. It is a great resource for anyone who wants to learn how to create a QR code generator website. Here are some additional details about the steps involved in creating a QR code generator website: Create an HTML file with the basic structure of the website. This includes the following elements: A form with an input field for the text or URL to be encoded in the QR code A button to generate the QR code An image element to display the QR code Add CSS code to style the website. This includes styling the form, button, and image element. Add JavaScript code to generate the QR code and display it on the website. This code uses the Google Charts API to generate the QR code image. Once you have completed these steps, you will have a working QR code generator website. You can then customize the website to your liking by adding more features or changing the styling.
How To Create To-Do List App Using HTML CSS And JavaScript _...
4K views · Sep 4, 2023 codingpakistan.com
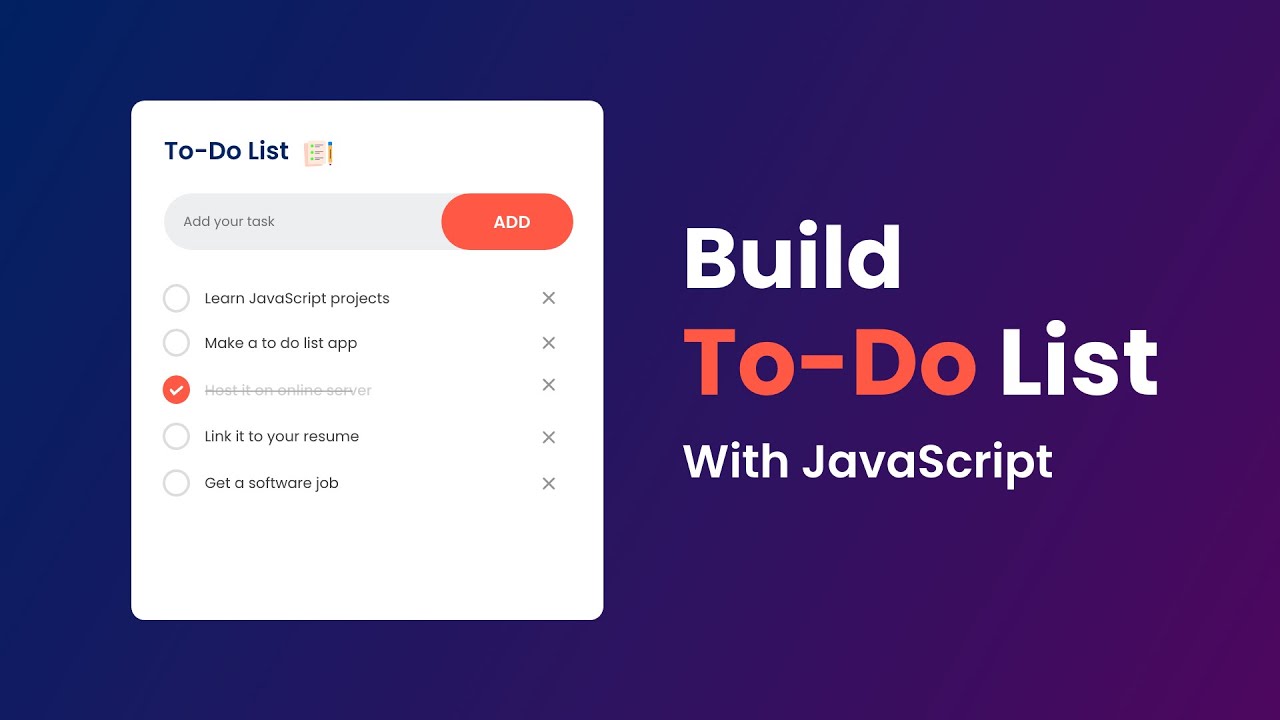
This video tutorial teaches you how to create a to-do list app using HTML, CSS, and JavaScript. The video starts by creating an HTML file with the basic structure of the app. Then, it adds CSS code to style the app. Finally, it adds JavaScript code to add, remove, and mark tasks as completed. The video also explains the following concepts: What is a to-do list app? How to create a to-do list app using HTML, CSS, and JavaScript How to add tasks to a to-do list How to remove tasks from a to-do list How to mark tasks as completed The video is well-paced and easy to follow. It is a great resource for anyone who wants to learn how to create a to-do list app. Here are some additional details about the steps involved in creating a to-do list app: Create an HTML file with the basic structure of the app. This includes the following elements: A list of tasks Buttons to add, remove, and mark tasks as completed Add CSS code to style the app. This includes styling the list of tasks, buttons, and other elements. Add JavaScript code to add, remove, and mark tasks as completed. This code uses the DOM API to manipulate the HTML elements in the app. Once you have completed these steps, you will have a working to-do list app. You can then customize the app to your liking by adding more features or changing the styling.
How To Make A Music Player Using HTML CSS And JavaScript
7K views · Sep 4, 2023 codingpakistan.com
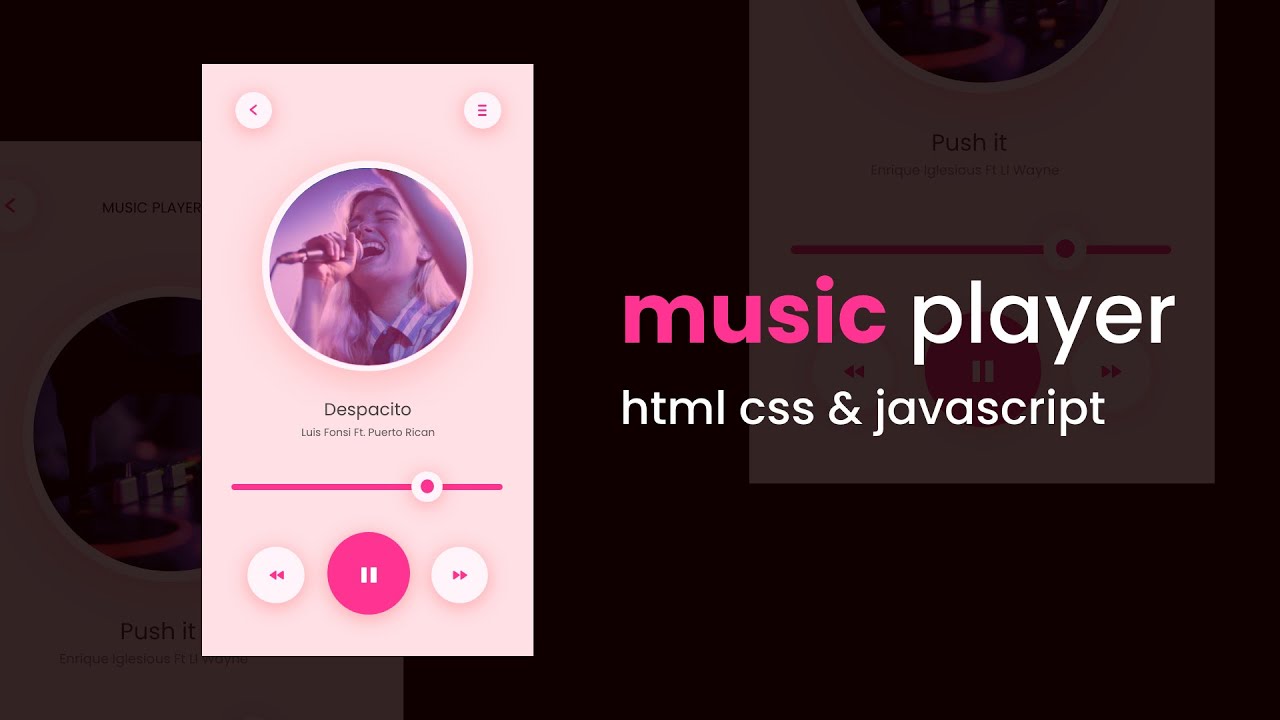
This video tutorial teaches you how to create a music player using HTML, CSS, and JavaScript. The video starts by creating an HTML file with the basic structure of the music player. Then, it adds CSS code to style the music player. Finally, it adds JavaScript code to control the playback of the music. The video also explains the following concepts: What is a music player? How to create a music player using HTML, CSS, and JavaScript How to load audio files into a music player How to control the playback of audio files How to add features to a music player, such as a progress bar, volume control, and repeat/shuffle buttons The video is well-paced and easy to follow. It is a great resource for anyone who wants to learn how to create a music player. Here are some additional details about the steps involved in creating a music player: Create an HTML file with the basic structure of the music player. This includes the following elements: A list of audio files Buttons to play, pause, and stop the music A progress bar to show the current playback position Volume control Repeat/shuffle buttons Add CSS code to style the music player. This includes styling the list of audio files, buttons, progress bar, and other elements. Add JavaScript code to control the playback of the music. This code uses the HTMLMediaElement API to load, play, and control audio files. Once you have completed these steps, you will have a working music player. You can then customize the music player to your liking by adding more features or changing the styling.
How To Build Notes App Using HTML CSS and JavaScript
2K views · Sep 4, 2023 codingpakistan.com
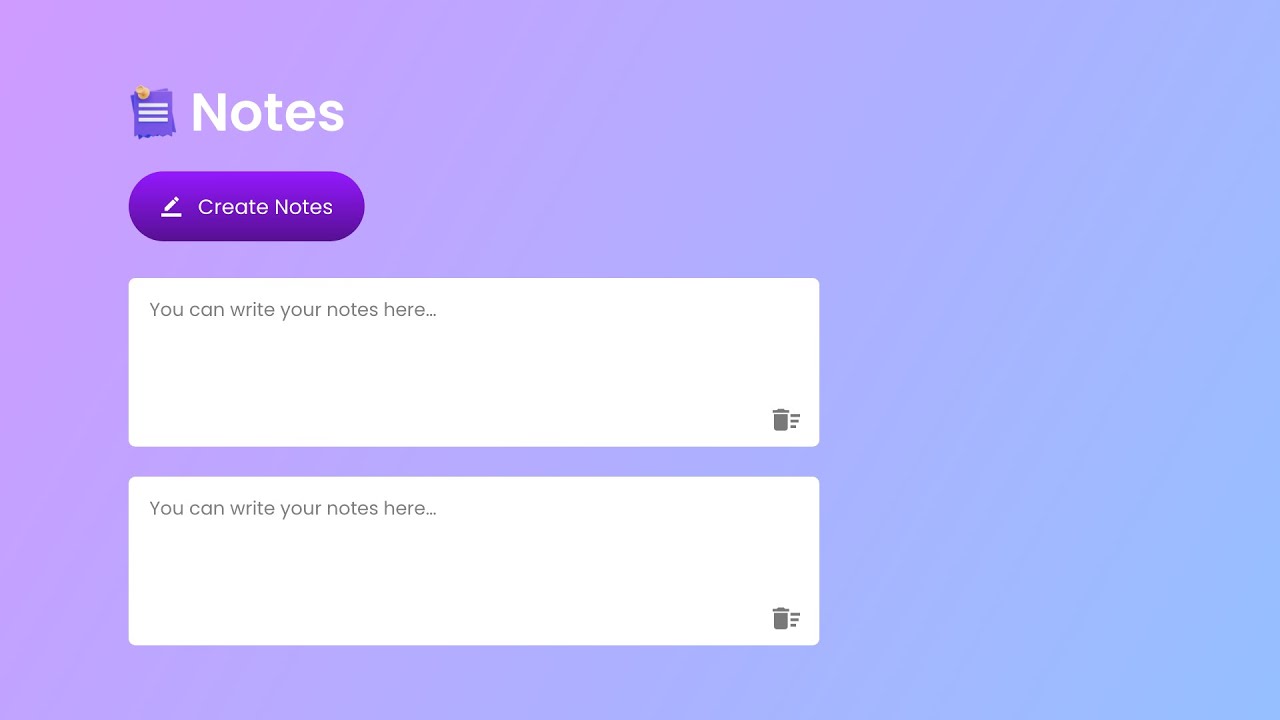
This video tutorial teaches you how to build a notes app using HTML, CSS, and JavaScript. The video starts by creating an HTML file with the basic structure of the app. Then, it adds CSS code to style the app. Finally, it adds JavaScript code to add, edit, and delete notes. The video also explains the following concepts: What is a notes app? How to build a notes app using HTML, CSS, and JavaScript How to add notes to a notes app How to edit notes in a notes app How to delete notes from a notes app The video is well-paced and easy to follow. It is a great resource for anyone who wants to learn how to build a notes app. Here are some additional details about the steps involved in building a notes app: Create an HTML file with the basic structure of the app. This includes the following elements: A list of notes A button to add a new note A button to edit a note A button to delete a note Add CSS code to style the app. This includes styling the list of notes, buttons, and other elements. Add JavaScript code to add, edit, and delete notes. This code uses the DOM API to manipulate the HTML elements in the app. Once you have completed these steps, you will have a working notes app. You can then customize the app to your liking by adding more features or changing the styling.
How To Make Toast Notification or Snack Bar For Website Usin...
3K views · Sep 4, 2023 codingpakistan.com
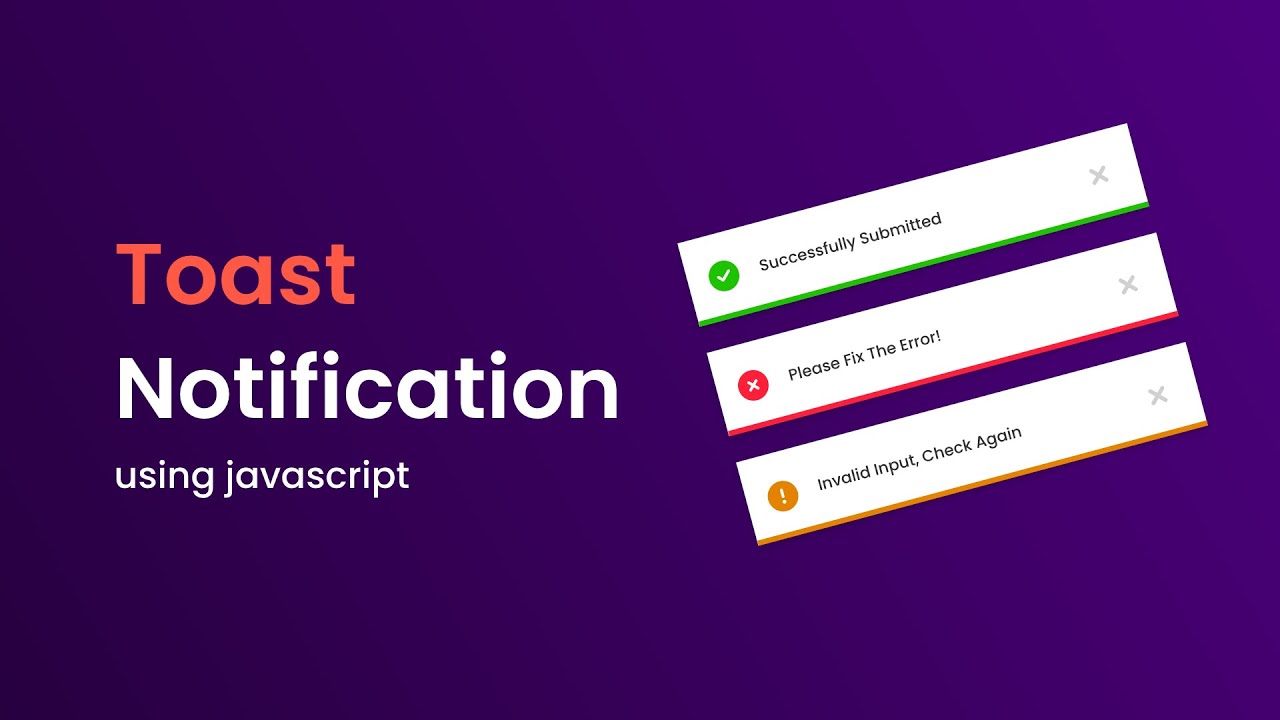
This video tutorial teaches you how to create a toast notification or snack bar for a website using HTML, CSS, and JavaScript. The video starts by creating an HTML element to contain the notification. Then, it adds CSS code to style the notification. Finally, it adds JavaScript code to display the notification and remove it after a certain amount of time. The video also explains the following concepts: What is a toast notification or snack bar? How to create a toast notification or snack bar using HTML, CSS, and JavaScript How to style a toast notification or snack bar using CSS How to display a toast notification or snack bar using JavaScript How to remove a toast notification or snack bar using JavaScript The video is well-paced and easy to follow. It is a great resource for anyone who wants to learn how to create a toast notification or snack bar for a website. Here are some additional details about the steps involved in creating a toast notification or snack bar: Create an HTML element to contain the notification. This element should have the class toast. Add CSS code to style the notification. This code can be used to set the background color, text color, font size, and other properties of the notification. Add JavaScript code to display the notification and remove it after a certain amount of time. This code can be used to get the current time, create a timer, and remove the notification when the timer expires. Once you have completed these steps, you will have a working toast notification or snack bar. You can then customize the notification to your liking by changing the styling or the JavaScript code.
How To Build Age Calculator App Using HTML CSS And JavaScrip...
13K views · Sep 4, 2023 codingpakistan.com
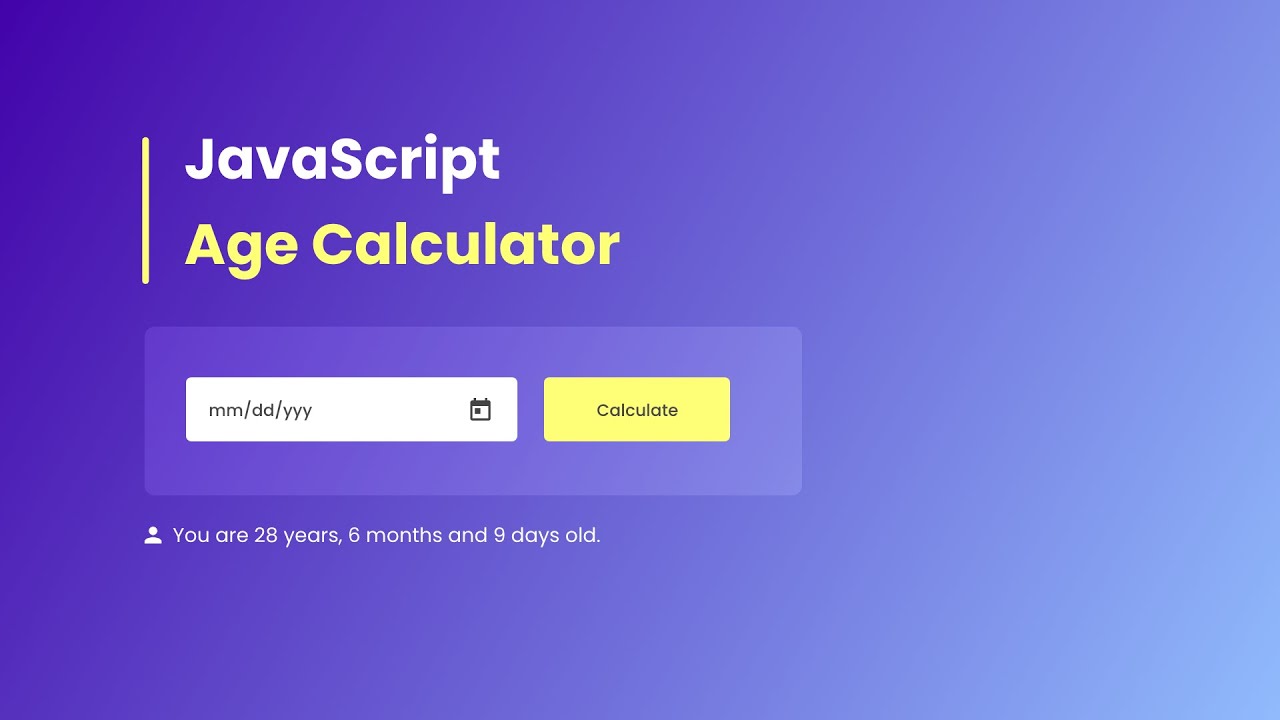
This video tutorial teaches you how to build an age calculator app using HTML, CSS, and JavaScript. The video starts by creating an HTML file with the basic structure of the app. Then, it adds CSS code to style the app. Finally, it adds JavaScript code to calculate the user's age and display the result. The video also explains the following concepts: What is an age calculator app? How to build an age calculator app using HTML, CSS, and JavaScript How to get the current date and time using JavaScript How to calculate the user's age using JavaScript How to display the user's age using JavaScript The video is well-paced and easy to follow. It is a great resource for anyone who wants to learn how to build an age calculator app. Here are some additional details about the steps involved in building an age calculator app: Create an HTML file with the basic structure of the app. This includes the following elements: A text input field for the user to enter their date of birth A button to calculate the user's age A text area to display the user's age Add CSS code to style the app. This code can be used to set the font, size, and color of the text, as well as the layout of the app. Add JavaScript code to calculate the user's age and display the result. This code can use the Date() object to get the current date and time, and then subtract the user's date of birth from the current date to calculate the user's age. Once you have completed these steps, you will have a working age calculator app. You can then customize the app to your liking by changing the styling or the JavaScript code.
How To Make Weather App Using JavaScript Step By Step Explai...
9K views · Sep 4, 2023 codingpakistan.com
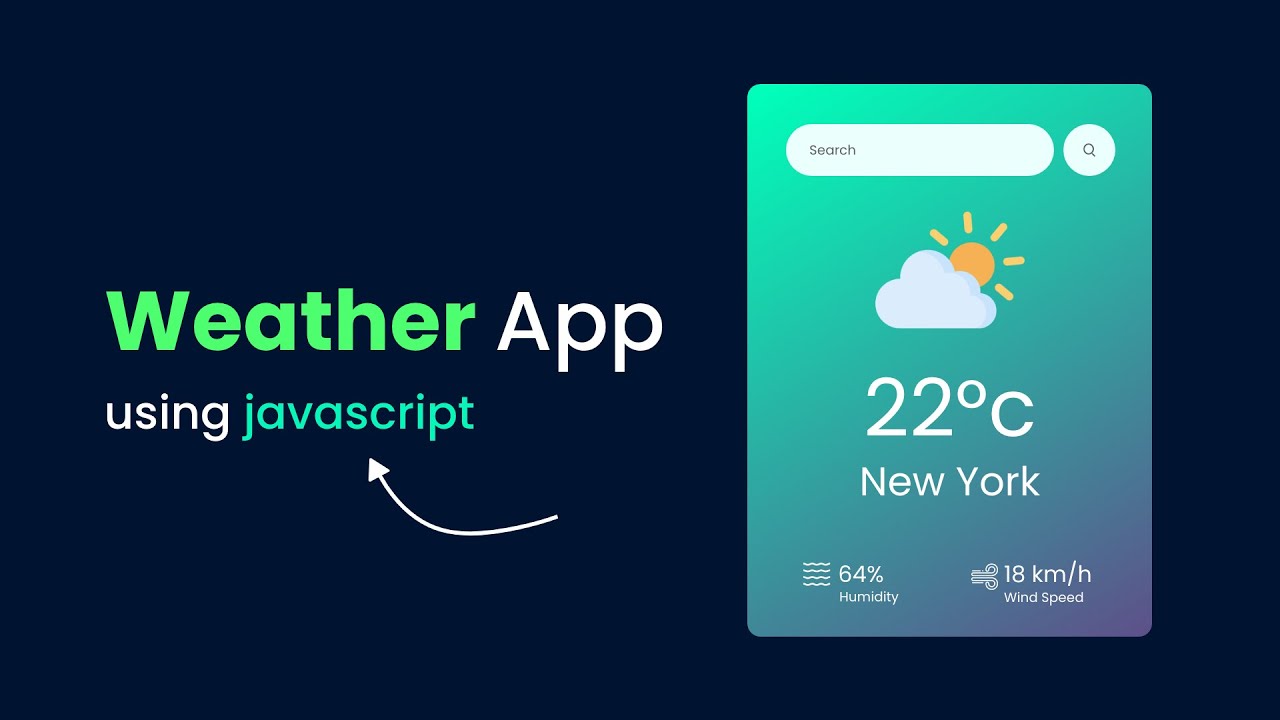
This video tutorial teaches you how to make a weather app using JavaScript. The video starts by creating a basic HTML structure for the app. Then, it adds CSS code to style the app. Finally, it adds JavaScript code to fetch weather data from an API and display it on the app. The video also explains the following concepts: What is a weather app? How to make a weather app using JavaScript How to fetch weather data from an API How to display weather data on a web page The video is well-paced and easy to follow. It is a great resource for anyone who wants to learn how to make a weather app using JavaScript. Here are some additional details about the steps involved in making a weather app using JavaScript: Create a basic HTML structure for the app. This includes the following elements: A header that displays the name of the app A form for the user to enter their location A button to fetch weather data A section to display the weather data Add CSS code to style the app. This code can be used to set the font, size, and color of the text, as well as the layout of the app. Add JavaScript code to fetch weather data from an API and display it on the app. This code can use the XMLHttpRequest object to make an HTTP request to the API, and then parse the response to get the weather data. Once you have completed these steps, you will have a working weather app. You can then customize the app to your liking by changing the styling or the JavaScript code.
How To Generate a Random Password Using JavaScript _ Passwor...
34K views · Sep 4, 2023 codingpakistan.com
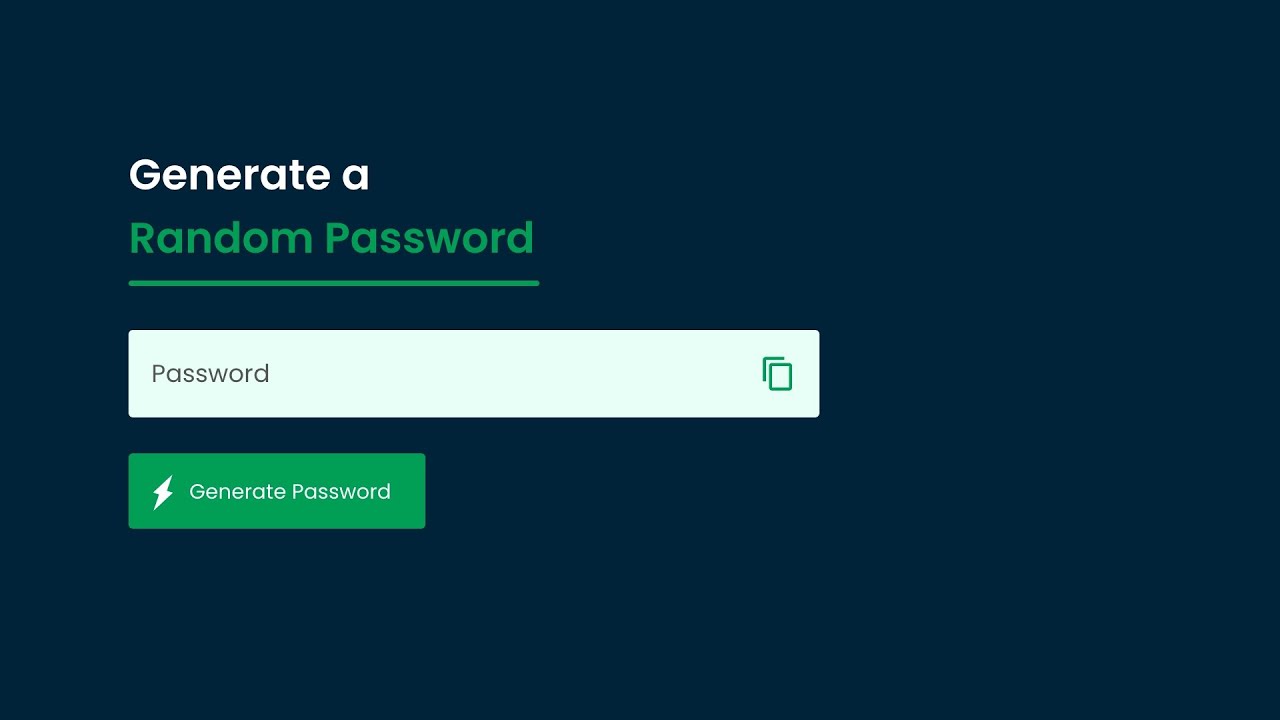
This video tutorial teaches you how to generate a random password using JavaScript. The video starts by explaining the concept of a random password and why it is important. Then, it shows how to generate a random password using the Math.random() function. Finally, it shows how to create a password generator using JavaScript. The video also explains the following concepts: What is a random password? Why is it important to use a random password? How to generate a random password using JavaScript How to create a password generator using JavaScript The video is well-paced and easy to follow. It is a great resource for anyone who wants to learn how to generate a random password using JavaScript. Here are some additional details about the steps involved in generating a random password using JavaScript: Choose a character set. This is the set of characters that you want to include in the password. For example, you might want to include lowercase letters, uppercase letters, numbers, and symbols. Determine the length of the password. This is the number of characters that you want the password to be. Use the Math.random() function to generate a random number. This number will be used to select the characters for the password. Loop through the character set and select the characters based on the random number. Combine the selected characters to form the password. Once you have completed these steps, you will have a random password. You can then copy and paste the password or save it to a file.

How To Make Quote Generator Website Using HTML CSS And JavaS...
4K views · Sep 4, 2023 codingpakistan.com
This video tutorial teaches you how to make a quote generator website using HTML, CSS, and JavaScript. The video starts by creating a basic HTML structure for the website. Then, it adds CSS code to style the website. Finally, it adds JavaScript code to generate a random quote and display it on the website. The video also explains the following concepts: What is a quote generator website? How to make a quote generator website using HTML, CSS, and JavaScript How to generate a random quote using JavaScript How to display a random quote on a web page The video is well-paced and easy to follow. It is a great resource for anyone who wants to learn how to make a quote generator website using HTML, CSS, and JavaScript. Here are some additional details about the steps involved in making a quote generator website using HTML, CSS, and JavaScript: Create a basic HTML structure for the website. This includes the following elements: A header that displays the name of the website A section to display the quote A button to generate a new quote Add CSS code to style the website. This code can be used to set the font, size, and color of the text, as well as the layout of the website. Add JavaScript code to generate a random quote and display it on the website. This code can use the Math.random() function to generate a random number. This number can then be used to select a quote from a list of quotes. Once you have completed these steps, you will have a working quote generator website. You can then customize the website to your liking by changing the styling or the JavaScript code.
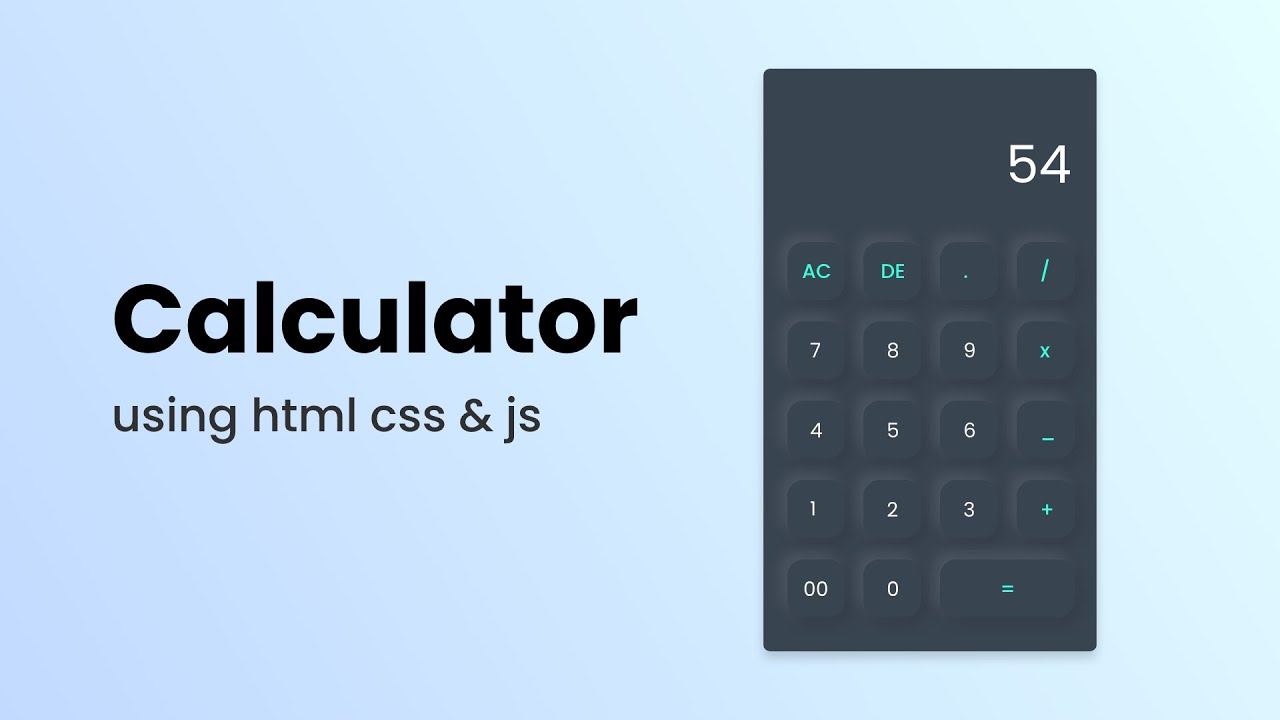
How To Make A Calculator Using HTML CSS And JavaScript
18K views · Sep 4, 2023 codingpakistan.com
This video tutorial teaches you how to make a calculator using HTML, CSS, and JavaScript. The video starts by creating a basic HTML structure for the calculator. Then, it adds CSS code to style the calculator. Finally, it adds JavaScript code to handle the user input and perform the calculations. The video also explains the following concepts: What is a calculator? How to make a calculator using HTML, CSS, and JavaScript How to handle user input in JavaScript How to perform calculations in JavaScript How to display the results of the calculations The video is well-paced and easy to follow. It is a great resource for anyone who wants to learn how to make a calculator using HTML, CSS, and JavaScript. Here are some additional details about the steps involved in making a calculator using HTML, CSS, and JavaScript: Create a basic HTML structure for the calculator. This includes the following elements: A text input field for each number Buttons for the different operations A button to calculate the result A text area to display the result Add CSS code to style the calculator. This code can be used to set the font, size, and color of the text, as well as the layout of the calculator. Add JavaScript code to handle the user input and perform the calculations. This code can use the addEventListener() event listener to listen for the user's input. The code can then use the eval() function to evaluate the expression entered by the user. Once you have completed these steps, you will have a working calculator. You can then customize the calculator to your liking by changing the styling or the JavaScript code.
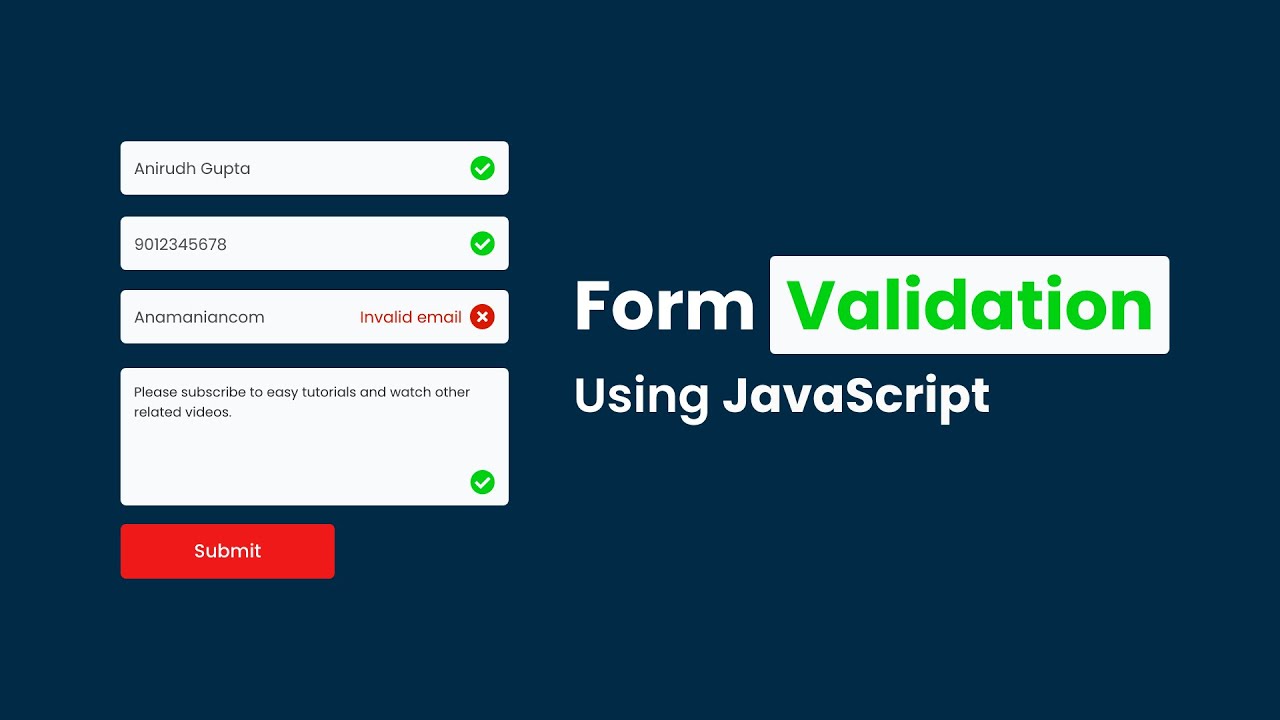
How To Make Form Validation Using JavaScript _ Validate Form...
26K views · Sep 4, 2023 codingpakistan.com
This video tutorial teaches you how to make form validation using JavaScript. The video starts by explaining the concept of form validation and why it is important. Then, it shows how to validate a form using the required attribute and the onsubmit event listener. Finally, it shows how to create a custom form validation function. The video also explains the following concepts: What is form validation? Why is it important to use form validation? How to validate a form using the required attribute How to validate a form using the onsubmit event listener How to create a custom form validation function The video is well-paced and easy to follow. It is a great resource for anyone who wants to learn how to make form validation using JavaScript. Here are some additional details about the steps involved in making form validation using JavaScript: Add the required attribute to the input fields that you want to be required. Add the onsubmit event listener to the form and use it to call a function that validates the form. In the form validation function, check each input field to make sure that it is not empty. If an input field is empty, display an error message. Once you have completed these steps, your form will be validated using JavaScript. You can then customize the error messages to your liking.

How To Make Working Email Subscription Form With Google Shee...
2K views · Sep 4, 2023 codingpakistan.com
This video tutorial teaches you how to make a working email subscription form with Google Sheets using HTML, CSS, and JavaScript. The video starts by creating a basic HTML structure for the form. Then, it adds CSS code to style the form. Finally, it adds JavaScript code to submit the form data to a Google Sheet. The video also explains the following concepts: What is an email subscription form? How to make an email subscription form using HTML, CSS, and JavaScript How to submit form data to Google Sheets using JavaScript The video is well-paced and easy to follow. It is a great resource for anyone who wants to learn how to make an email subscription form with Google Sheets using HTML, CSS, and JavaScript. Here are some additional details about the steps involved in making an email subscription form with Google Sheets using HTML, CSS, and JavaScript: Create a basic HTML structure for the form. This includes the following elements: An input field for the email address A button to submit the form Add CSS code to style the form. This code can be used to set the font, size, and color of the text, as well as the layout of the form. Add JavaScript code to submit the form data to a Google Sheet. This code can use the XMLHttpRequest object to make an HTTP request to Google Sheets, and then the appendRow() function to add the form data to the sheet. Once you have completed these steps, you will have a working email subscription form that submits the data to a Google Sheet. You can then customize the form and the Google Sheet to your liking.

How To Show Password Strength Using HTML CSS And JavaScript ...
2K views · Sep 4, 2023 codingpakistan.com
This video tutorial teaches you how to show the strength of a password using HTML, CSS, and JavaScript. The video starts by explaining the concept of password strength and how to measure it. Then, it shows how to create a password strength indicator using HTML and CSS. Finally, it shows how to use JavaScript to update the password strength indicator as the user types their password. The video also explains the following concepts: What is password strength? How to measure password strength How to create a password strength indicator using HTML and CSS How to use JavaScript to update the password strength indicator The video is well-paced and easy to follow. It is a great resource for anyone who wants to learn how to show the strength of a password using HTML, CSS, and JavaScript. Here are some additional details about the steps involved in showing the strength of a password using HTML, CSS, and JavaScript: Create an HTML element to display the password strength indicator. Add CSS code to style the password strength indicator. Write JavaScript code to update the password strength indicator as the user types their password. The JavaScript code can use a regular expression to check the password for strength. The regular expression can check for the following: The length of the password The presence of uppercase and lowercase letters The presence of numbers and symbols Once you have completed these steps, you will have a working password strength indicator that shows the strength of the password as the user types it. You can then customize the password strength indicator to your liking.
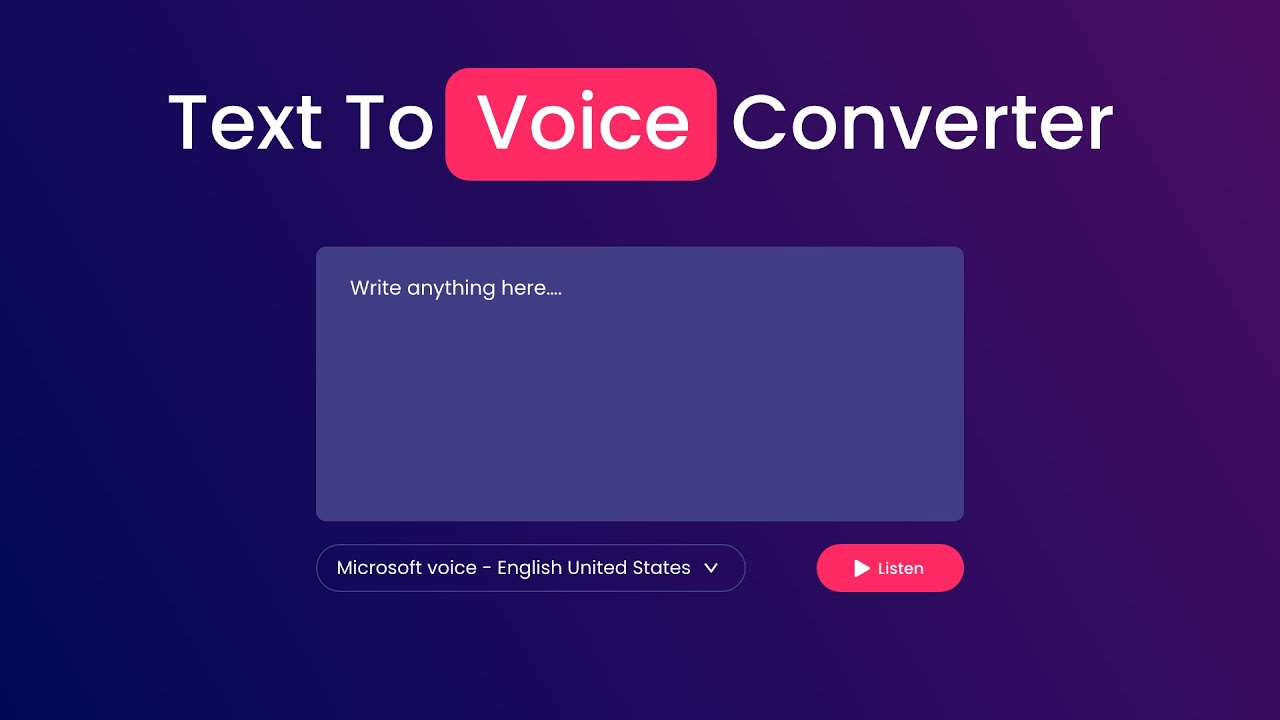
How To Make Text To Voice Converter Using JavaScript _ Text ...
39K views · Sep 4, 2023 codingpakistan.com
This video tutorial teaches you how to make a text to voice converter using JavaScript. The video starts by explaining the concept of text to speech conversion and how it works. Then, it shows how to use the SpeechSynthesis API to convert text to speech in JavaScript. Finally, it shows how to create a simple text to voice converter using HTML, CSS, and JavaScript. The video also explains the following concepts: What is text to speech conversion? How does text to speech conversion work? How to use the SpeechSynthesis API to convert text to speech in JavaScript How to create a simple text to voice converter using HTML, CSS, and JavaScript The video is well-paced and easy to follow. It is a great resource for anyone who wants to learn how to make a text to voice converter using JavaScript. Here are some additional details about the steps involved in making a text to voice converter using JavaScript: Create an HTML element to display the text to be converted to speech. Add CSS code to style the text element. Write JavaScript code to use the SpeechSynthesis API to convert the text to speech. The JavaScript code can use the synthesizeSpeech() function to convert the text to speech. The synthesizeSpeech() function takes a string as input and returns a promise. The promise will be resolved when the speech is finished playing. Once you have completed these steps, you will have a working text to voice converter that converts the text to speech when the user clicks a button. You can then customize the text to voice converter to your liking.
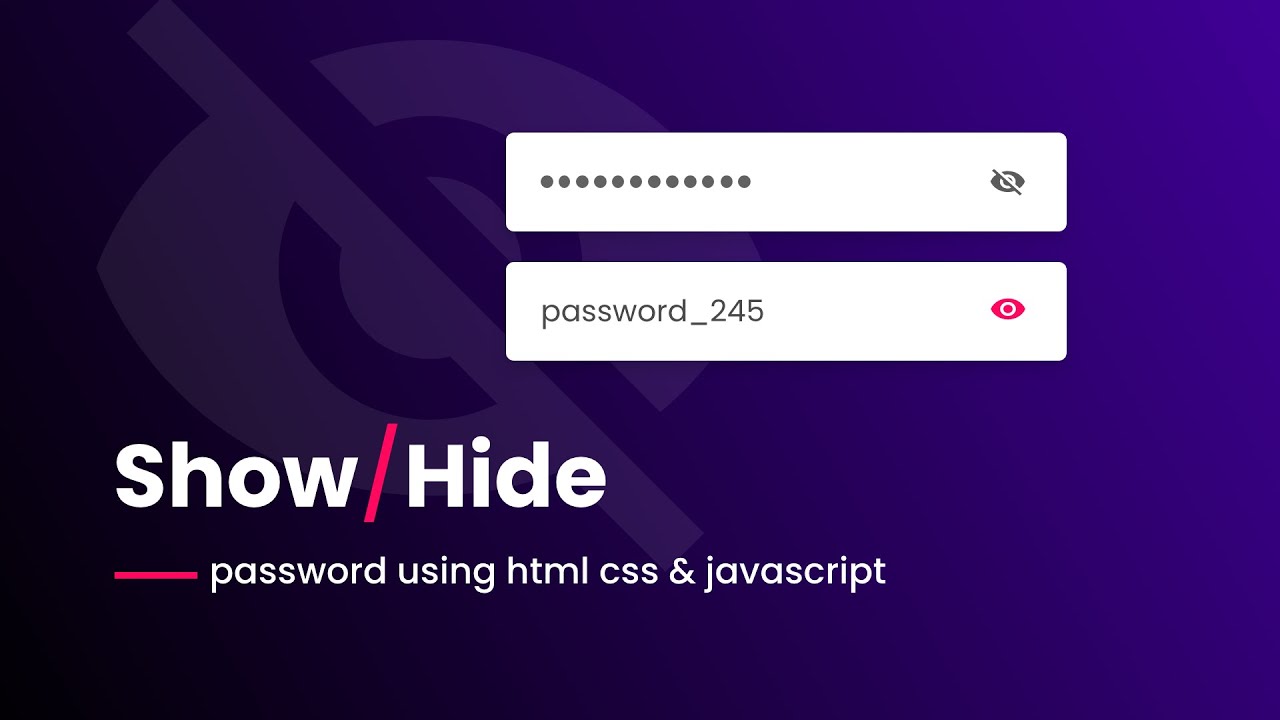
How To Hide And Show Password On Website Using HTML, CSS &am...
5K views · Sep 4, 2023 codingpakistan.com
This video tutorial teaches you how to hide and show a password on a website using HTML, CSS, and JavaScript. The video starts by explaining the concept of password visibility and how it works. Then, it shows how to create a password toggle button using HTML and CSS. Finally, it shows how to use JavaScript to toggle the visibility of the password input field. The video also explains the following concepts: What is password visibility? How does password visibility work? How to create a password toggle button using HTML and CSS How to use JavaScript to toggle the visibility of the password input field The video is well-paced and easy to follow. It is a great resource for anyone who wants to learn how to hide and show a password on a website using HTML, CSS, and JavaScript. Here are some additional details about the steps involved in hiding and showing a password on a website using HTML, CSS, and JavaScript: Create an HTML element to display the password input field. Add CSS code to style the password input field. Create an HTML element to display the password toggle button. Add CSS code to style the password toggle button. Write JavaScript code to toggle the visibility of the password input field when the user clicks the password toggle button. The JavaScript code can use the type attribute of the password input field to toggle its visibility. The type attribute can be set to password to hide the password or text to show the password. Once you have completed these steps, you will have a working password toggle button that hides and shows the password input field when the user clicks the button. You can then customize the password toggle button to your liking.
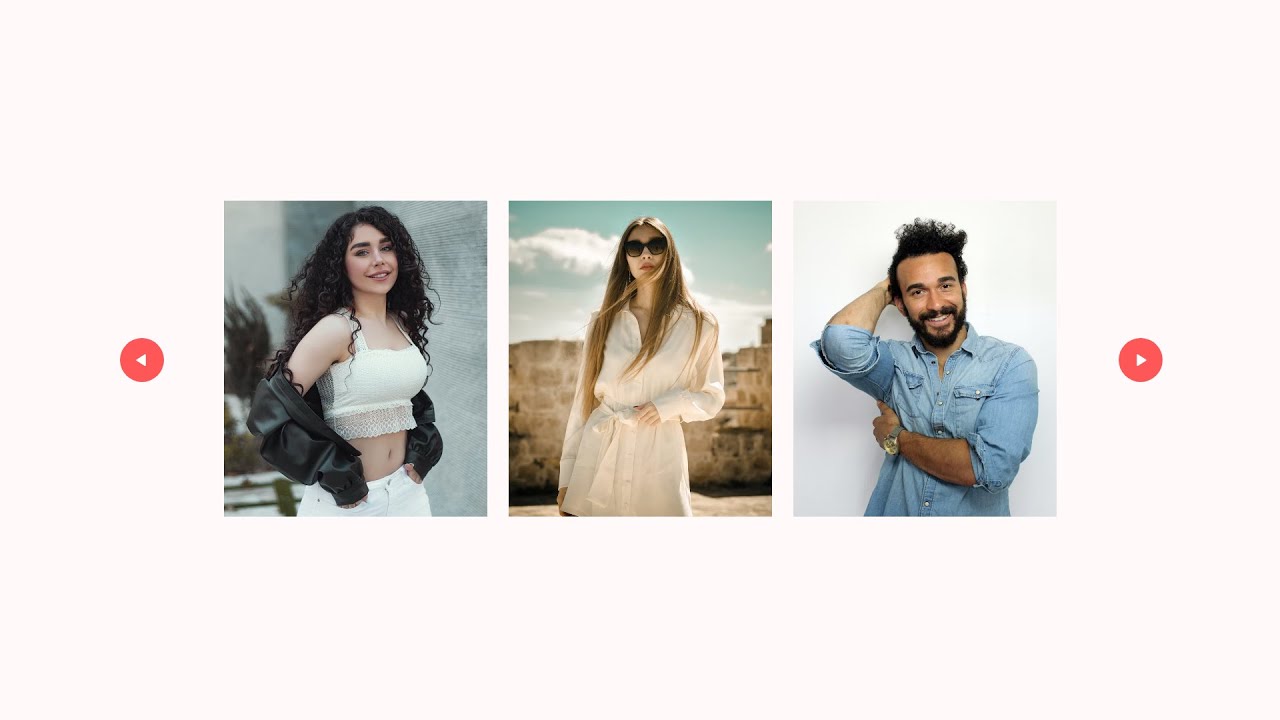
How To Create Image Gallery In JavaScript _ Horizontal Scrol...
6K views · Sep 4, 2023 codingpakistan.com
In this engaging video tutorial, you'll discover how to craft a captivating image gallery using the power of JavaScript. The focus of the tutorial is on creating a dynamic and visually appealing horizontal scrolling image gallery, a feature often seen on modern websites. Step by step, you'll delve into the JavaScript code, learning how to manipulate the gallery's behavior and aesthetics. Whether you're an aspiring web developer or simply looking to enhance your web design skills, this video will guide you through the process, allowing you to add a stylish and interactive image gallery to your websites. By the end of the tutorial, you'll have the knowledge and code to impress your audience with a beautiful and functional image gallery.
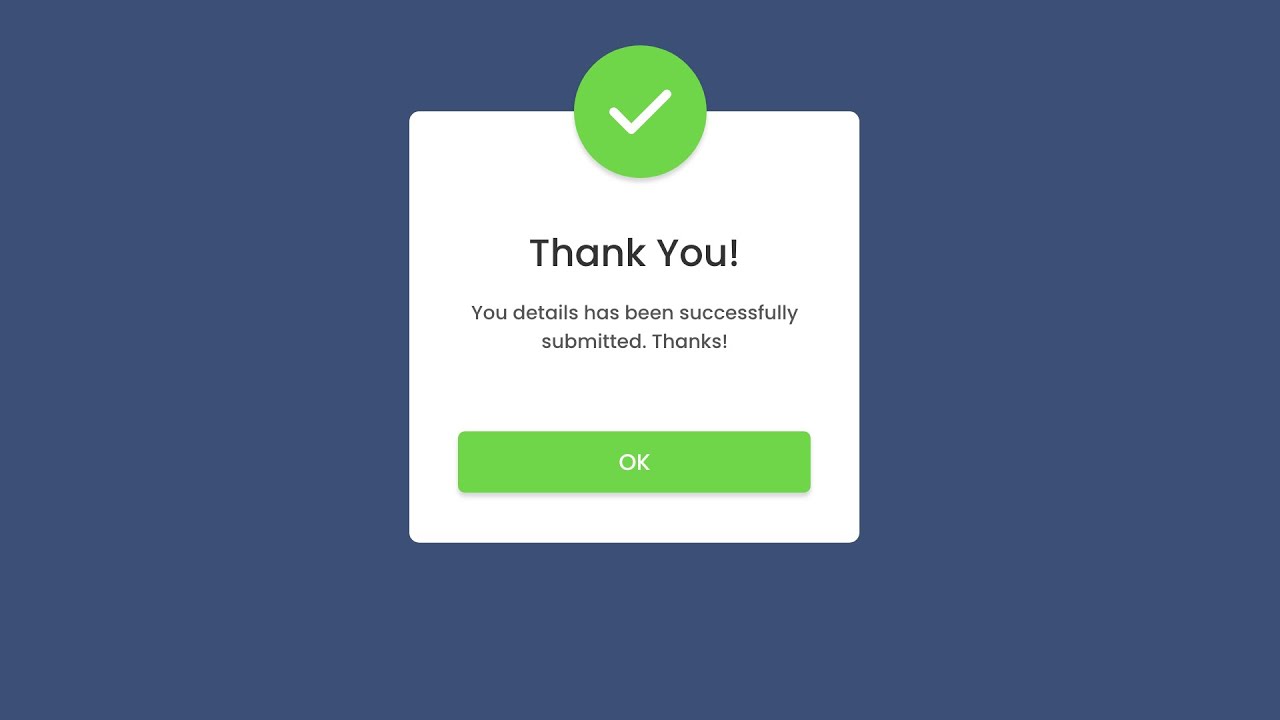
How To Make A Popup Using HTML, CSS And JavaScript _ Create ...
12K views · Sep 4, 2023 codingpakistan.com
The video starts by creating the HTML markup for the popup box. The popup box is created using a <div> element with the class "popup". The <div> element has an id of "popup-1". This id will be used to reference the popup box in the JavaScript code. The next step is to style the popup box using CSS. The CSS code is used to set the background color, border, and padding of the popup box. The CSS code also positions the popup box in the center of the screen. Finally, the JavaScript code is used to open and close the popup box. The JavaScript code uses the onclick event handler to open the popup box when the user clicks on a button. The JavaScript code also uses the .toggle() method to close the popup box when the user clicks on the close button. The video also shows how to add animation to the popup box. The animation is created using CSS transitions. The CSS transitions are used to make the popup box fade in and out when it is opened and closed. Overall, the video is a comprehensive guide on how to create a popup box in an HTML website using HTML, CSS, and JavaScript. The video covers all the steps involved in creating the popup box, from creating the HTML markup to adding animation. Here are some additional tips for creating a popup box: Use a unique id for the popup box so that you can easily reference it in your JavaScript code. Use CSS to style the popup box to match the rest of your website. Add a close button to the popup box so that users can easily close it. Use JavaScript to open and close the popup box programmatically. Add animation to the popup box to make it more visually appealing.
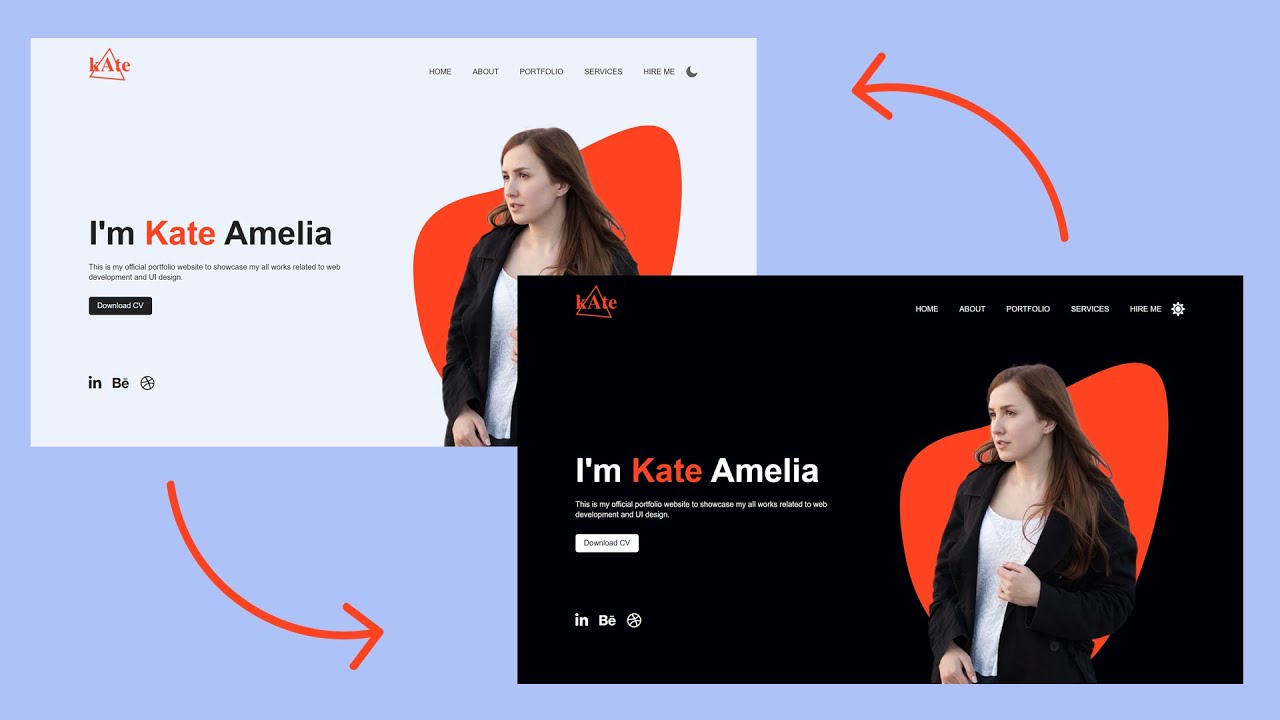
How To Make Website DARK MODE _ Dark Theme Website Design Us...
22K views · Sep 4, 2023 codingpakistan.com
The video teaches you how to create a dark mode for your website using HTML, CSS, and JavaScript. Dark mode is a popular design trend that is becoming increasingly popular, as it can be easier on the eyes and reduce eye strain, especially at night. The video starts by creating the HTML markup for the dark mode toggle button. The toggle button is created using a <button> element with the class "dark-mode-toggle". The <button> element has an onclick event handler that calls a JavaScript function to toggle the dark mode. The next step is to style the toggle button using CSS. The CSS code is used to set the background color, border, and padding of the toggle button. The CSS code also adds an icon to the toggle button. Finally, the JavaScript code is used to toggle the dark mode. The JavaScript code uses the localStorage API to store the user's preference for dark mode. The JavaScript code also uses the CSS classes to change the appearance of the website when the dark mode is toggled. The video also shows how to add a dark mode switch to the user's browser. This allows users to enable dark mode for your website even when their browser is set to light mode. Overall, the video is a comprehensive guide on how to create a dark mode for your website using HTML, CSS, and JavaScript. The video covers all the steps involved in creating the dark mode, from creating the HTML markup to adding a dark mode switch to the user's browser. Here are some additional tips for creating a dark mode for your website: Use a dark color scheme for the background and text. Use light colors for the borders and icons. Use high contrast colors for the text and links. Make sure the website is still readable and accessible in dark mode. Test the dark mode on different devices and browsers.
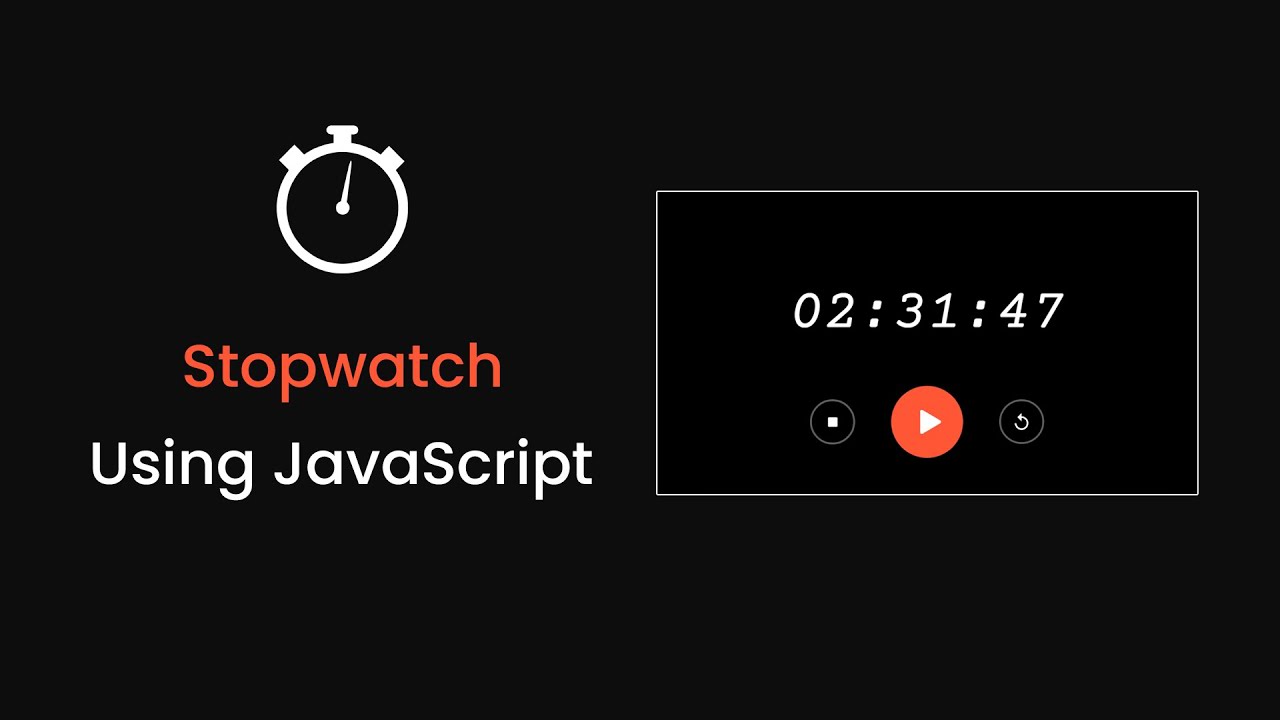
How To Create A Stopwatch Using JavaScript _ Make Stopwatch ...
65K views · Sep 4, 2023 codingpakistan.com
The video teaches you how to create a stopwatch using HTML, CSS, and JavaScript. A stopwatch is a device that measures the elapsed time between two points. It is often used to measure the time it takes to complete a task. The video starts by creating the HTML markup for the stopwatch. The stopwatch is created using a <div> element with the class "stopwatch". The <div> element has three child elements: a <span> element for the hours, a <span> element for the minutes, and a <span> element for the seconds. The next step is to style the stopwatch using CSS. The CSS code is used to set the font, font size, and color of the text in the stopwatch. The CSS code also positions the stopwatch in the center of the screen. Finally, the JavaScript code is used to start, stop, and reset the stopwatch. The JavaScript code uses the setInterval() function to repeatedly update the time in the stopwatch. The JavaScript code also uses the onclick event handler to handle the clicks on the start, stop, and reset buttons. The video also shows how to add a sound effect to the stopwatch. The sound effect is played when the stopwatch is started or stopped. Overall, the video is a comprehensive guide on how to create a stopwatch using HTML, CSS, and JavaScript. The video covers all the steps involved in creating the stopwatch, from creating the HTML markup to adding a sound effect. Here are some additional tips for creating a stopwatch: Use a clear and concise design for the stopwatch. Use large and easy-to-read fonts for the text. Use a contrasting color scheme for the text and background. Make sure the stopwatch is responsive and works on different devices. Test the stopwatch thoroughly before releasing it to the public.
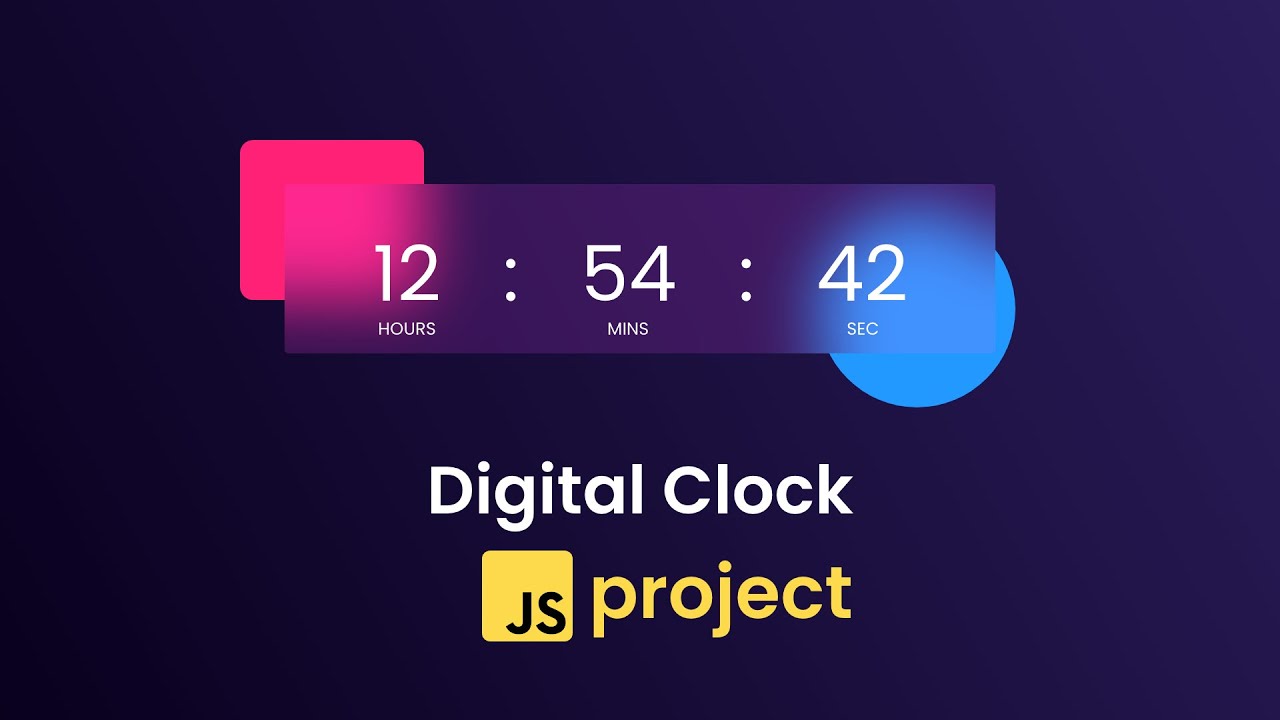
How To Create Digital Clock Using HTML CSS & JavaScript ...
7K views · Sep 5, 2023 codingpakistan.com
The video tutorial shows how to create a digital clock using HTML, CSS, and JavaScript. The first step is to create the HTML structure for the clock. This includes creating a div element to hold the clock and adding some text to display the time. The next step is to style the clock using CSS. This includes setting the font, size, and color of the text, as well as the background and border of the div element. Finally, the JavaScript code is used to update the time displayed on the clock every second. The JavaScript code uses the Date() object to get the current time. The hour, minute, and second are then extracted from the Date object and formatted as a string. This string is then displayed on the clock using the HTML DOM. The video tutorial also shows how to add some additional features to the clock, such as the ability to change the time format and the ability to display the date. Here are the key steps involved in creating a digital clock using HTML, CSS, and JavaScript: Create the HTML structure for the clock. Style the clock using CSS. Write the JavaScript code to update the time displayed on the clock. Add additional features to the clock, such as the ability to change the time format and the ability to display the date.

How To Make Cryptocurrency Website In HTML CSS JS _ Add Cryp...
1K views · Sep 5, 2023 codingpakistan.com
The video tutorial shows how to create a cryptocurrency website using HTML, CSS, and JavaScript. The first step is to create the HTML structure for the website. This includes creating a div element to hold the cryptocurrency price and adding some text to display the name of the cryptocurrency. The next step is to style the website using CSS. This includes setting the font, size, and color of the text, as well as the background and border of the div element. Finally, the JavaScript code is used to fetch the live price of the cryptocurrency from a cryptocurrency API and display it on the website. The JavaScript code uses the fetch() method to make an HTTP request to the cryptocurrency API. The response from the API is then parsed and the live price of the cryptocurrency is extracted. This price is then displayed on the website using the HTML DOM. The video tutorial also shows how to add some additional features to the website, such as the ability to display the price of multiple cryptocurrencies and the ability to update the price every minute. Here are the key steps involved in creating a cryptocurrency website using HTML, CSS, and JavaScript: Create the HTML structure for the website. Style the website using CSS. Write the JavaScript code to fetch the live price of the cryptocurrency and display it on the website. Add additional features to the website, such as the ability to display the price of multiple cryptocurrencies and the ability to update the price every minute.

How To Create Image Search Engine Using HTML CSS and JavaScr...
14K views · Sep 5, 2023 codingpakistan.com
In this video tutorial, you'll learn how to create an Image Search Engine from scratch using a powerful combination of HTML, CSS, and JavaScript. Whether you're a beginner looking to build your web development skills or an experienced coder wanting to expand your knowledge, this step-by-step guide will walk you through the process. You'll start by designing a clean and user-friendly interface using HTML and CSS to ensure a visually appealing and responsive search engine. Then, dive into the JavaScript coding part, where you'll discover how to fetch and display images dynamically from various sources, possibly utilizing APIs like Google Images or Unsplash. The tutorial will also cover essential functionality such as search input handling, result rendering, and possibly even advanced features like filtering or sorting. By the end of this video, you'll have a practical understanding of how to create your own Image Search Engine, enhancing your web development skills and opening up possibilities for building more complex web applications in the future. Whether you're building it for fun or as part of a larger project, this tutorial will equip you with the knowledge needed to get started.
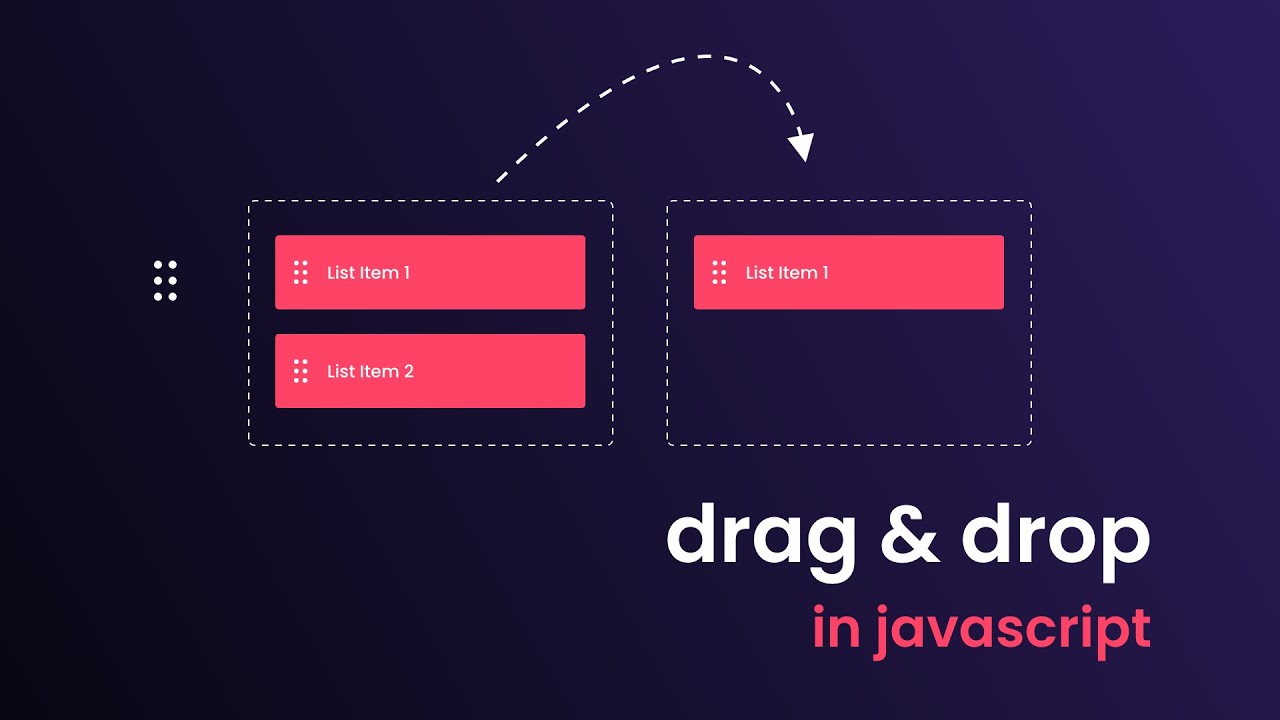
How To Create Drag & Drop Using HTML CSS And JavaScript ...
26K views · Sep 5, 2023 codingpakistan.com
The video titled "How To Create Drag & Drop Using HTML CSS And JavaScript _ Drag And Drop In JavaScript" teaches you how to create a drag and drop functionality in a web page using HTML, CSS, and JavaScript. The video starts by explaining the different events that are involved in a drag and drop operation. These events are: dragstart: This event is triggered when the user starts dragging an element. dragover: This event is triggered when the user is dragging an element over another element. drop: This event is triggered when the user drops an element on another element. The video then shows how to use these events to create a drag and drop functionality. The video explains how to make an element draggable and droppable, and how to customize the appearance of the draggable and droppable elements using CSS.
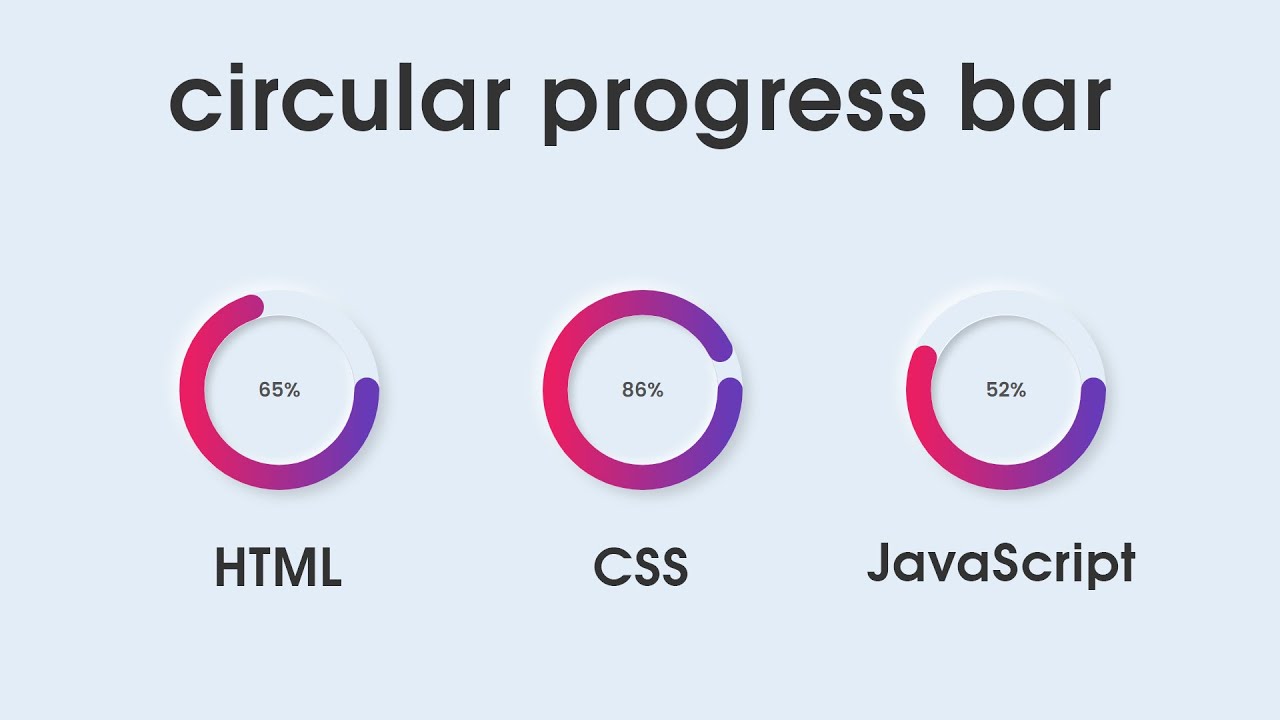
How To Make Circular Progress Bar Using HTML CSS JavaScript ...
3K views · Sep 5, 2023 codingpakistan.com
The video teaches you how to create a circular progress bar using HTML, CSS, and JavaScript. The progress bar is styled in the Neomorphism design style, which is characterized by its soft, rounded edges and shadows. The video starts by explaining the different HTML elements that are used to create the progress bar. These elements are: A div element to contain the progress bar. A circle element to create the circular shape of the progress bar. A lineargradient element to create the gradient fill for the progress bar. The video then shows how to use CSS to style the progress bar. The CSS code used to style the progress bar includes the following: The border-radius property to give the progress bar rounded edges. The box-shadow property to add shadows to the progress bar. The lineargradient property to create the gradient fill for the progress bar. Finally, the video shows how to use JavaScript to animate the progress bar. The JavaScript code used to animate the progress bar includes the following: The setInterval() function to repeatedly call a function that updates the progress bar. The Math.random() function to generate a random number between 0 and 100, which is used to set the value of the progress bar.
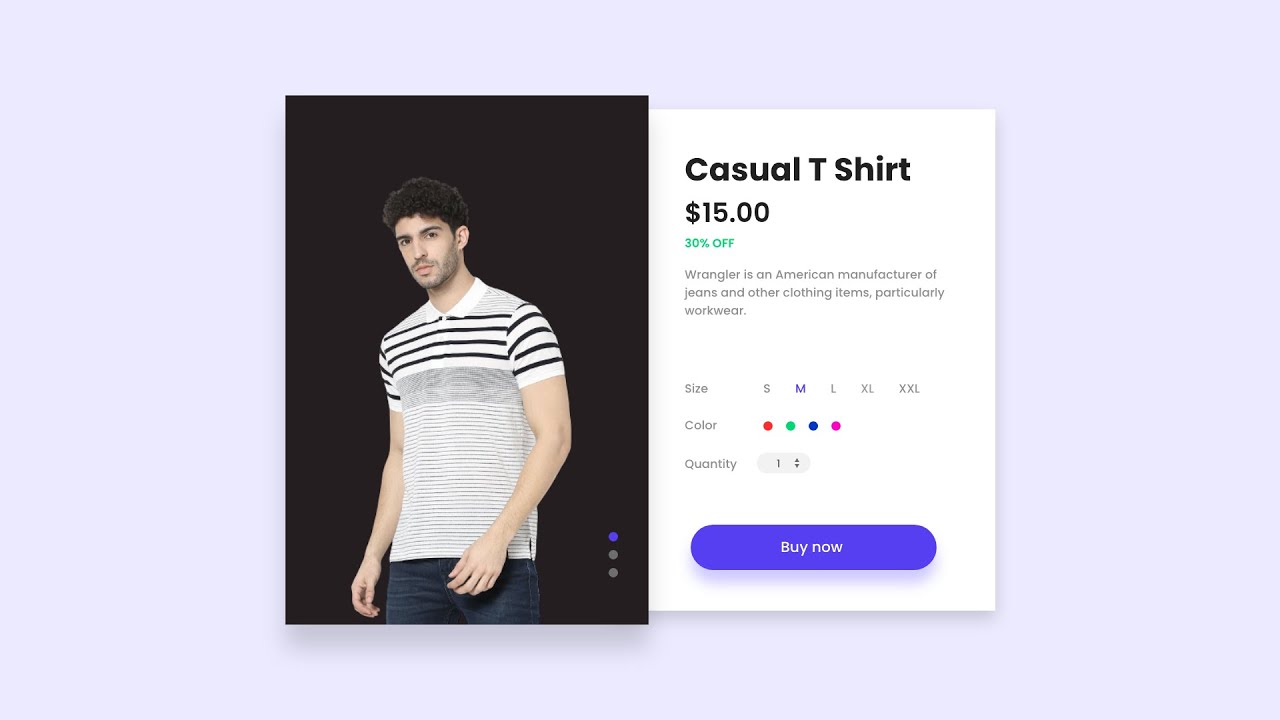
How To Make Product Page Design For Website Using HTML CSS A...
4K views · Sep 5, 2023 codingpakistan.com
The video teaches you how to create a product page design for a website using HTML, CSS, and JavaScript. The product page design includes the following elements: A large image of the product. A product title and description. A price and availability. A button to add the product to the cart. A review section. The video starts by explaining the different HTML elements that are used to create the product page design. These elements are: A div element to contain the product page. A div element to contain the product image. A h1 element to display the product title. A p element to display the product description. A span element to display the price. A button element to add the product to the cart. A ul element to contain the review section. A li element to contain each review. The video then shows how to use CSS to style the product page design. The CSS code used to style the product page design includes the following: The margin and padding properties to control the spacing around the elements. The border property to add borders to the elements. The font-size and color properties to control the font size and color of the text. The background-color property to set the background color of the elements. Finally, the video shows how to use JavaScript to add interactivity to the product page design. The JavaScript code used to add interactivity to the product page design includes the following: The onclick event to add a function to the button that adds the product to the cart. The onmouseover and onmouseout events to add a hover effect to the product image.
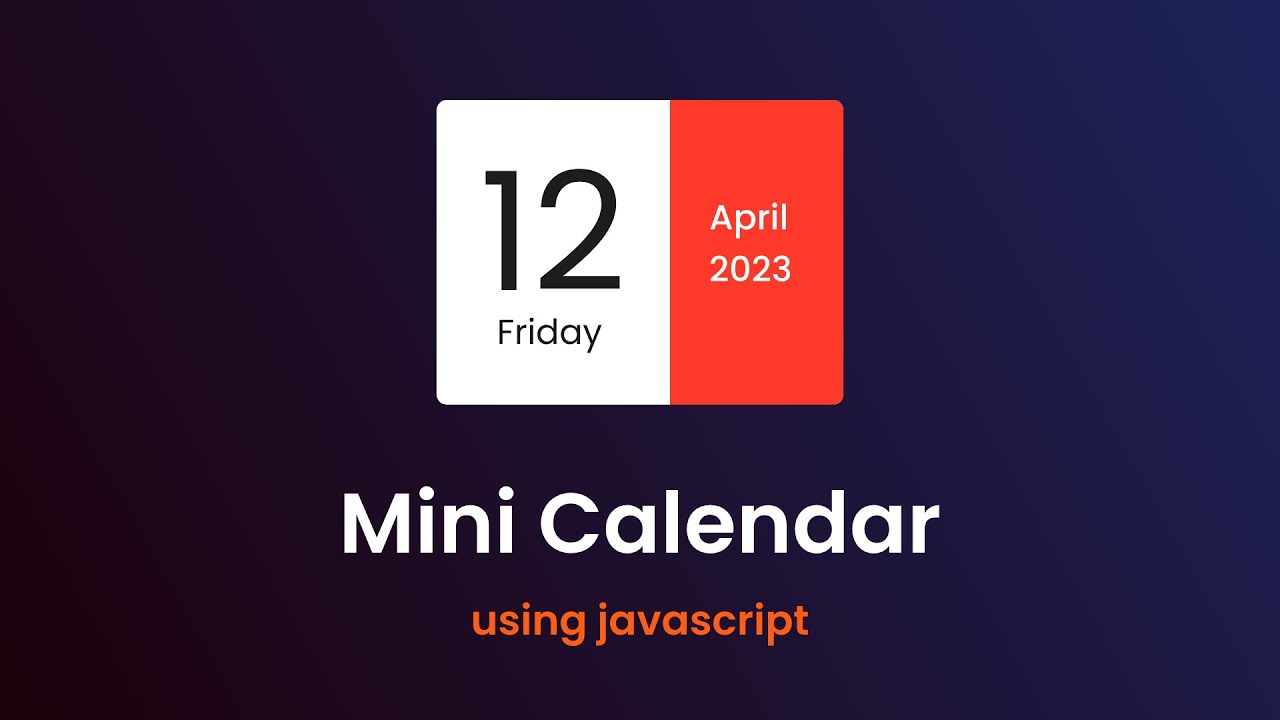
How To Create Mini Calendar Using HTML CSS and JavaScript
2K views · Sep 5, 2023 codingpakistan.com
The video teaches you how to create a mini calendar using HTML, CSS, and JavaScript. The mini calendar displays the current month and year, and allows the user to navigate to the previous or next month. The video starts by explaining the different HTML elements that are used to create the mini calendar. These elements are: A div element to contain the mini calendar. A table element to create the table structure for the calendar. td elements to create the cells for the calendar. span elements to display the day of the week in each cell. The video then shows how to use CSS to style the mini calendar. The CSS code used to style the mini calendar includes the following: The border property to add borders to the table cells. The background-color property to set the background color of the table cells. The font-size and color properties to control the font size and color of the text. Finally, the video shows how to use JavaScript to make the mini calendar interactive. The JavaScript code used to make the mini calendar interactive includes the following: The onclick event to add a function to the buttons that navigate to the previous or next month. The getMonth() and getFullYear() functions to get the current month and year. The setAttribute() function to set the text of the buttons.
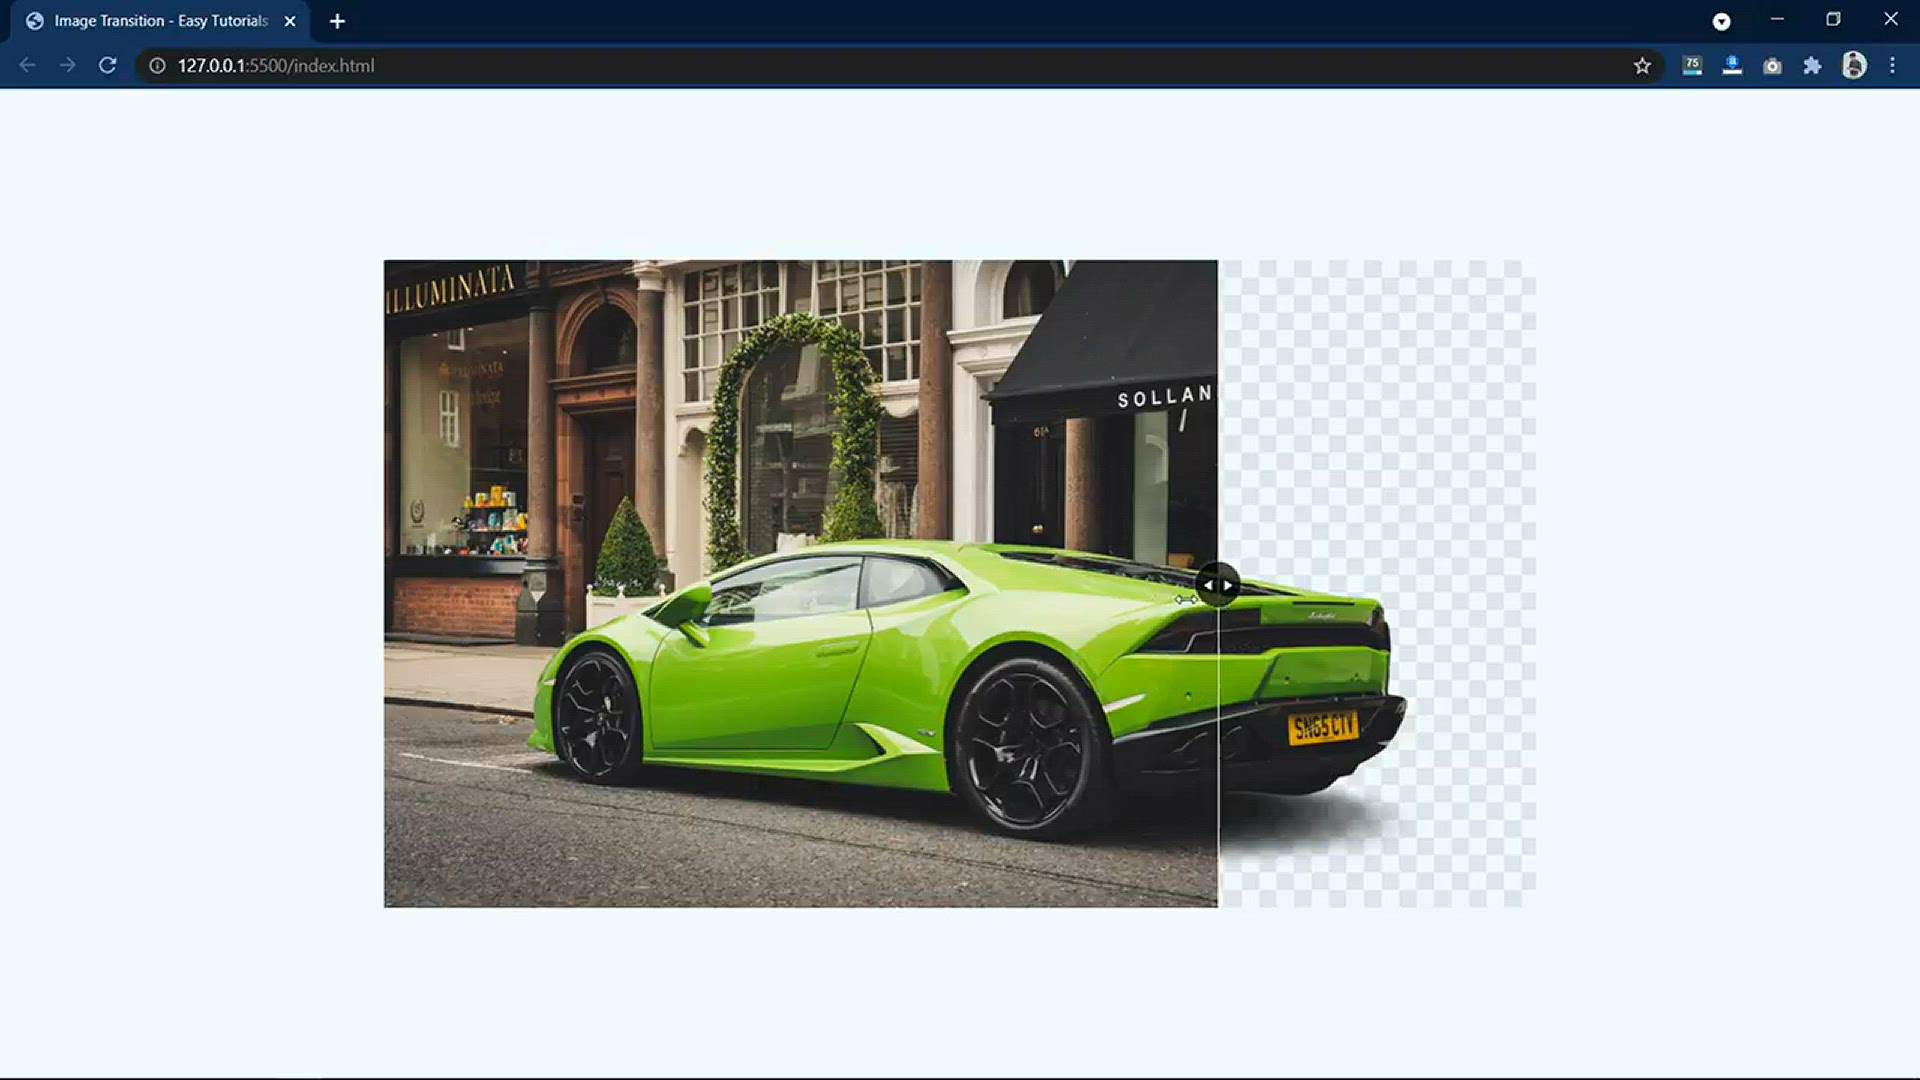
How To Make Image Background Change Effect On Website Using ...
4K views · Sep 5, 2023 codingpakistan.com
In this engaging video tutorial, you'll embark on a creative journey to learn how to implement a captivating Image Background Change Effect on your website. By harnessing the power of HTML, CSS, and JavaScript, you'll transform your website into an interactive and visually appealing platform. You'll begin by understanding the fundamentals of HTML and CSS, setting the stage for crafting a stunning website layout. Then, you'll delve into the magic of JavaScript to create the dynamic background effect. This effect might involve smooth transitions between different background images, triggered by user actions or automated time intervals. By the end of the video, you'll have acquired the skills to elevate your web design capabilities, making your website more engaging and memorable. Whether you're a budding web developer looking to enhance your skills or a seasoned pro seeking to add an extra layer of interactivity to your websites, this tutorial will provide you with the knowledge and tools to achieve a captivating Image Background Change Effect that will leave a lasting impression on your visitors.
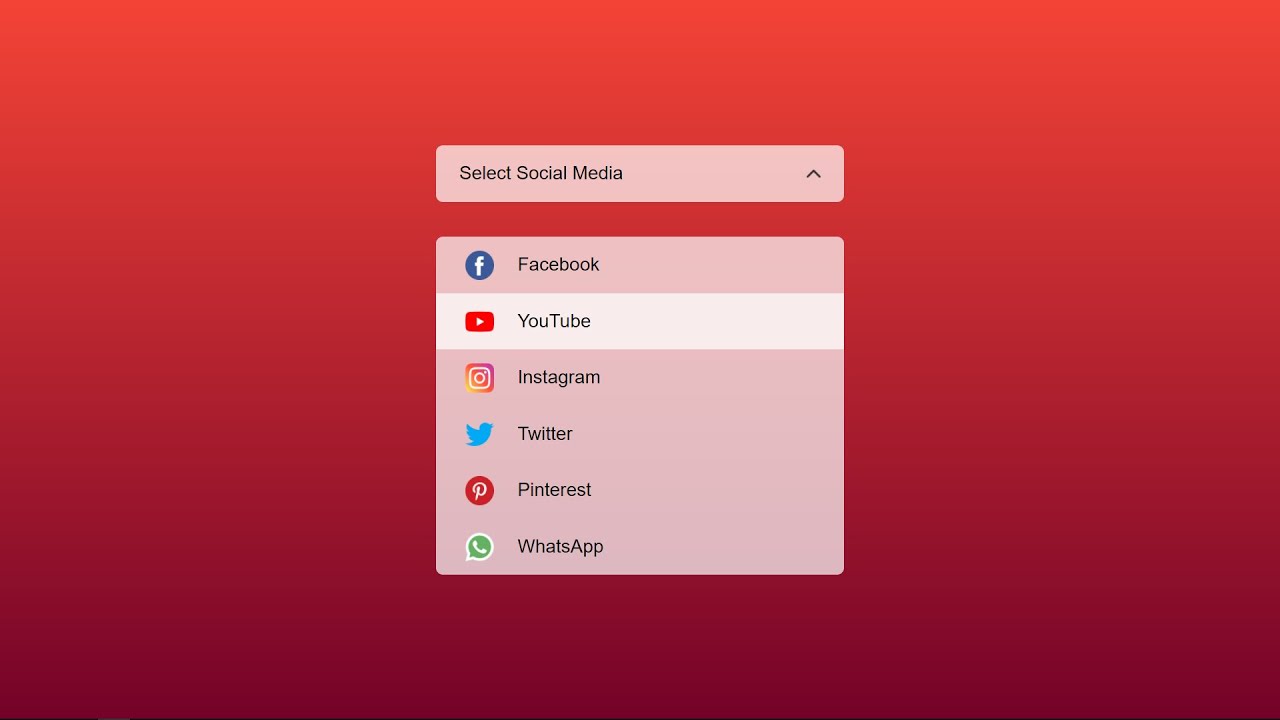
How To Make Select Menu Design Using HTML CSS And JavaScript...
4K views · Sep 5, 2023 codingpakistan.com
This video tutorial teaches you how to create a custom select menu using HTML, CSS, and JavaScript. The select menu is a common UI element that allows users to choose from a list of options. The video covers the following steps: Creating the HTML markup for the select menu. Using CSS to style the select menu. Using JavaScript to open and close the select menu. Adding a rotating icon to the select menu. The video also provides the source code for the custom select menu, so you can easily copy and paste it into your own project. Here are some of the key takeaways from the video: To create a custom select menu, you need to use the select element in your HTML markup. You can use CSS to style the select menu, such as changing its size, color, and font. You can use JavaScript to open and close the select menu, and to add interactivity to it. You can add a rotating icon to the select menu using CSS and JavaScript.

How To Make A Website Coming Soon Page Using HTML CSS & ...
5K views · Sep 5, 2023 codingpakistan.com
This video tutorial teaches you how to create a website coming soon page using HTML, CSS, and JavaScript. A coming soon page is a page that you can use to let your visitors know that your website is under construction or that it will be launching soon. The video covers the following steps: Creating the HTML markup for the coming soon page. Using CSS to style the coming soon page. Using JavaScript to add a countdown timer to the coming soon page. The video also provides the source code for the coming soon page, so you can easily copy and paste it into your own project. Here are some of the key takeaways from the video: To create a coming soon page, you need to use the div element in your HTML markup. You can use CSS to style the coming soon page, such as changing its background color, font, and text size. You can use JavaScript to add a countdown timer to the coming soon page. The countdown timer will show the number of days, hours, minutes, and seconds until your website is launched. I hope this helps! Here are some additional details about the countdown timer: The countdown timer is implemented using JavaScript. The JavaScript code uses the setInterval() function to repeatedly calculate the number of days, hours, minutes, and seconds until the launch date. The countdown timer is displayed using the innerHTML property of the div element. The video also shows how to add a subscribe form to the coming soon page. The subscribe form allows visitors to sign up to be notified when the website is launched.
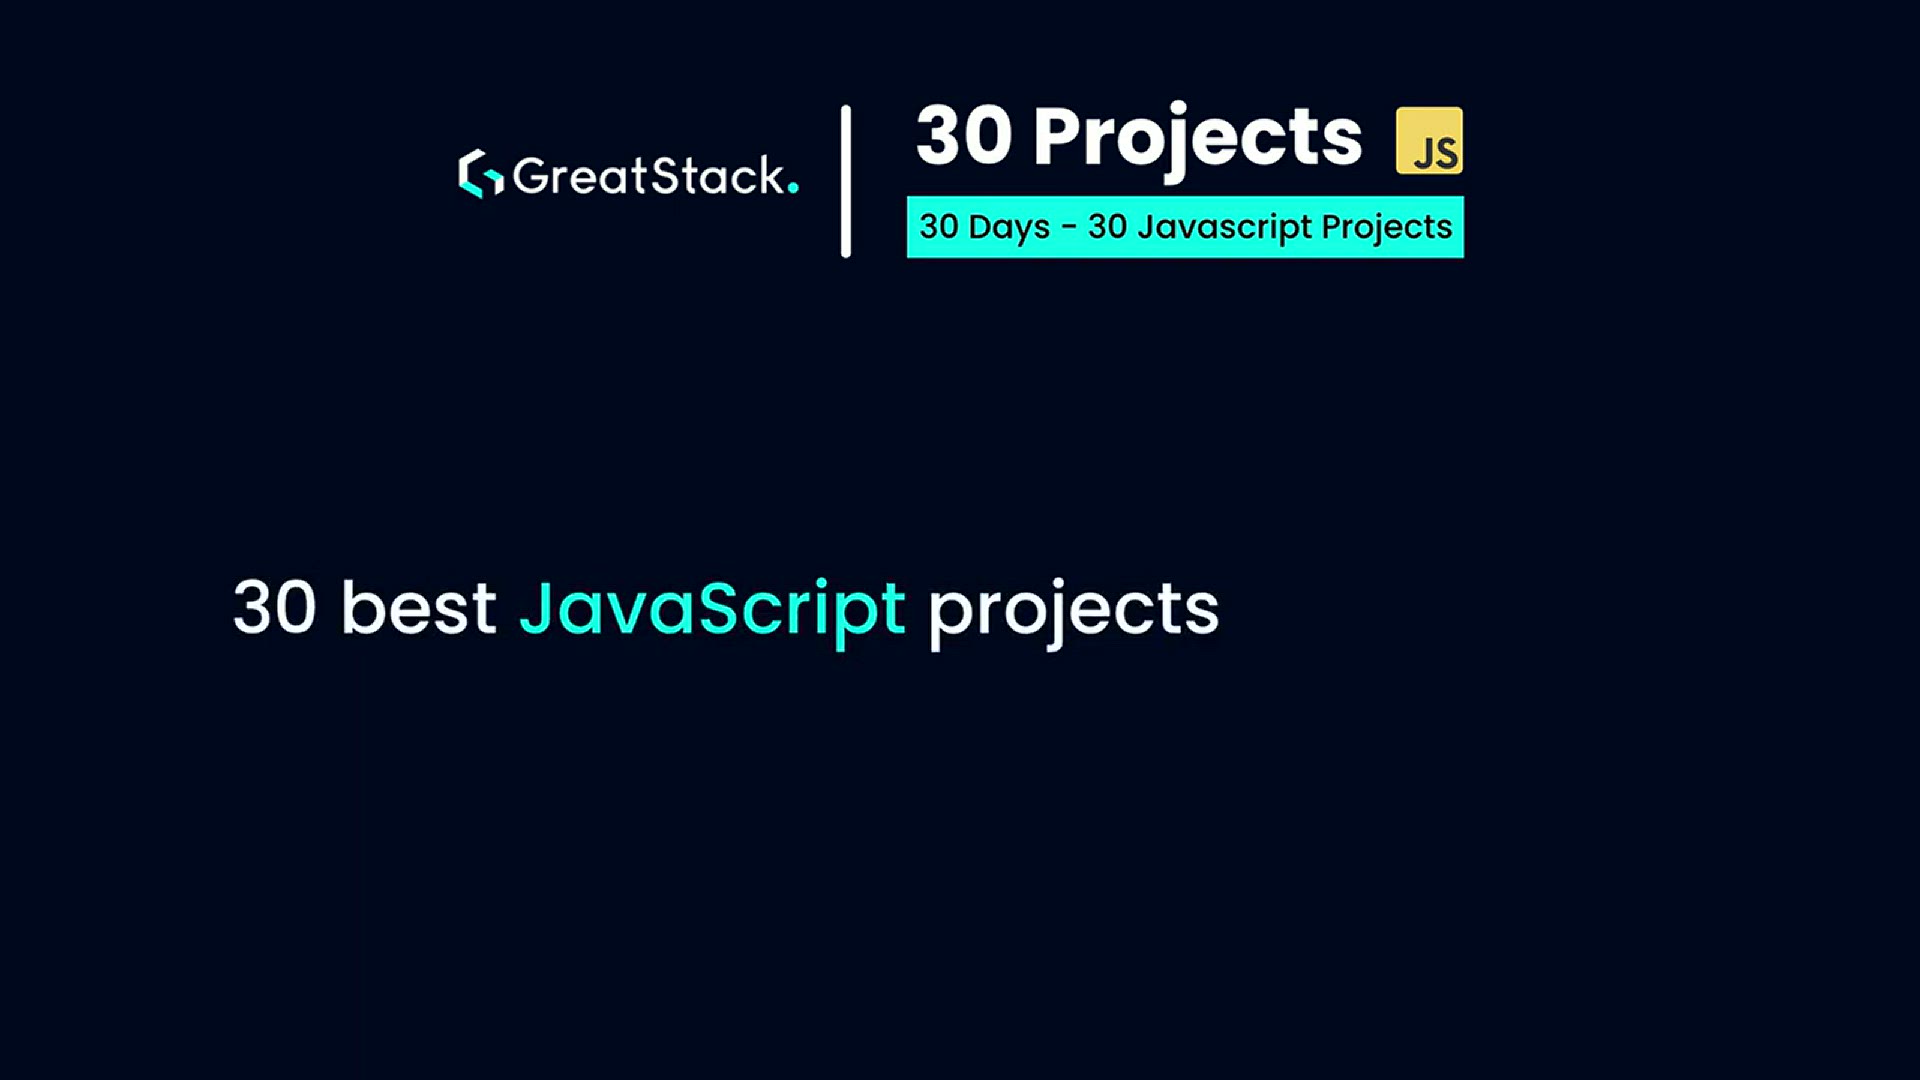
30 JavaScript Projects For Beginners _ 30 Days JavaScript Pr...
10K views · Sep 10, 2023 codingpakistan.com
This video tutorial provides a list of 30 JavaScript projects that beginners can practice. The projects are divided into 5 levels of difficulty, from beginner to advanced. The projects cover a variety of topics, such as creating a simple calculator, making a to-do list, and building a game. The video is a great way to learn JavaScript by doing. It is also a good way to track your progress as you learn the language. Here are some of the projects that are included in the video: Level 1: Create a simple calculator Make a to-do list Display the current date and time Generate a random number Level 2: Build a rock-paper-scissors game Create a simple animation Add validation to a form Create a contact form Level 3: Build a weather app Create a quiz game Add a search bar to a website Create a social media app Level 4: Build a shopping cart Create a blog Add a payment system to a website Create a news website Level 5: Build a game like Flappy Bird Create a website like Twitter Add a chat feature to a website Create a website like Instagram